At first you don't even notice the damage, but then you find the first rust stains on your butter knives, and at some point you simply can't ignore the damage to the dish rack anymore.
This was also the case with our almost 12-year-old AEG dishwasher. New dish racks would cost about 200 EUR at the cheapest retailer. On top of that, there might also be replacements required for plastic parts that have become brittle after years of washing dishes at high temperatures and may not survive disassembly and reassembly.
For the restoration I need:
- PVC coating
- Rust converter
- Citric acid or vinegar essence for decalcification
- Isopropyl alcohol or other suitable agent for degreasing and cleaning
- Nitrile gloves
- Scalpel or cutter knife with 9mm blade
- Half-round needle file
There are various PVC coatings on the market for restoring dish racks. On the recommendation of a friend, I decided in favour of PlastiDip Rerack. Choosing the right colour is more difficult; the manufacturer offers white, grey and silver-grey.
It was not easy to decide whether grey or silver-grey was the right choice for our grey dish rack, as there are no colour samples or recommendations for the racks of different appliance manufacturers. I was helped by a sample spill and a macro photo with a flash, which clearly showed the metallic particles in the coating.
For my AEG dish racks, Rerack silver-grey proved to be an amazingly good match.
The rust converter is optional. However, due to the extent of the damage, it is advisable to use it in any case, as the rust has already destroyed a lot of material.
The damage
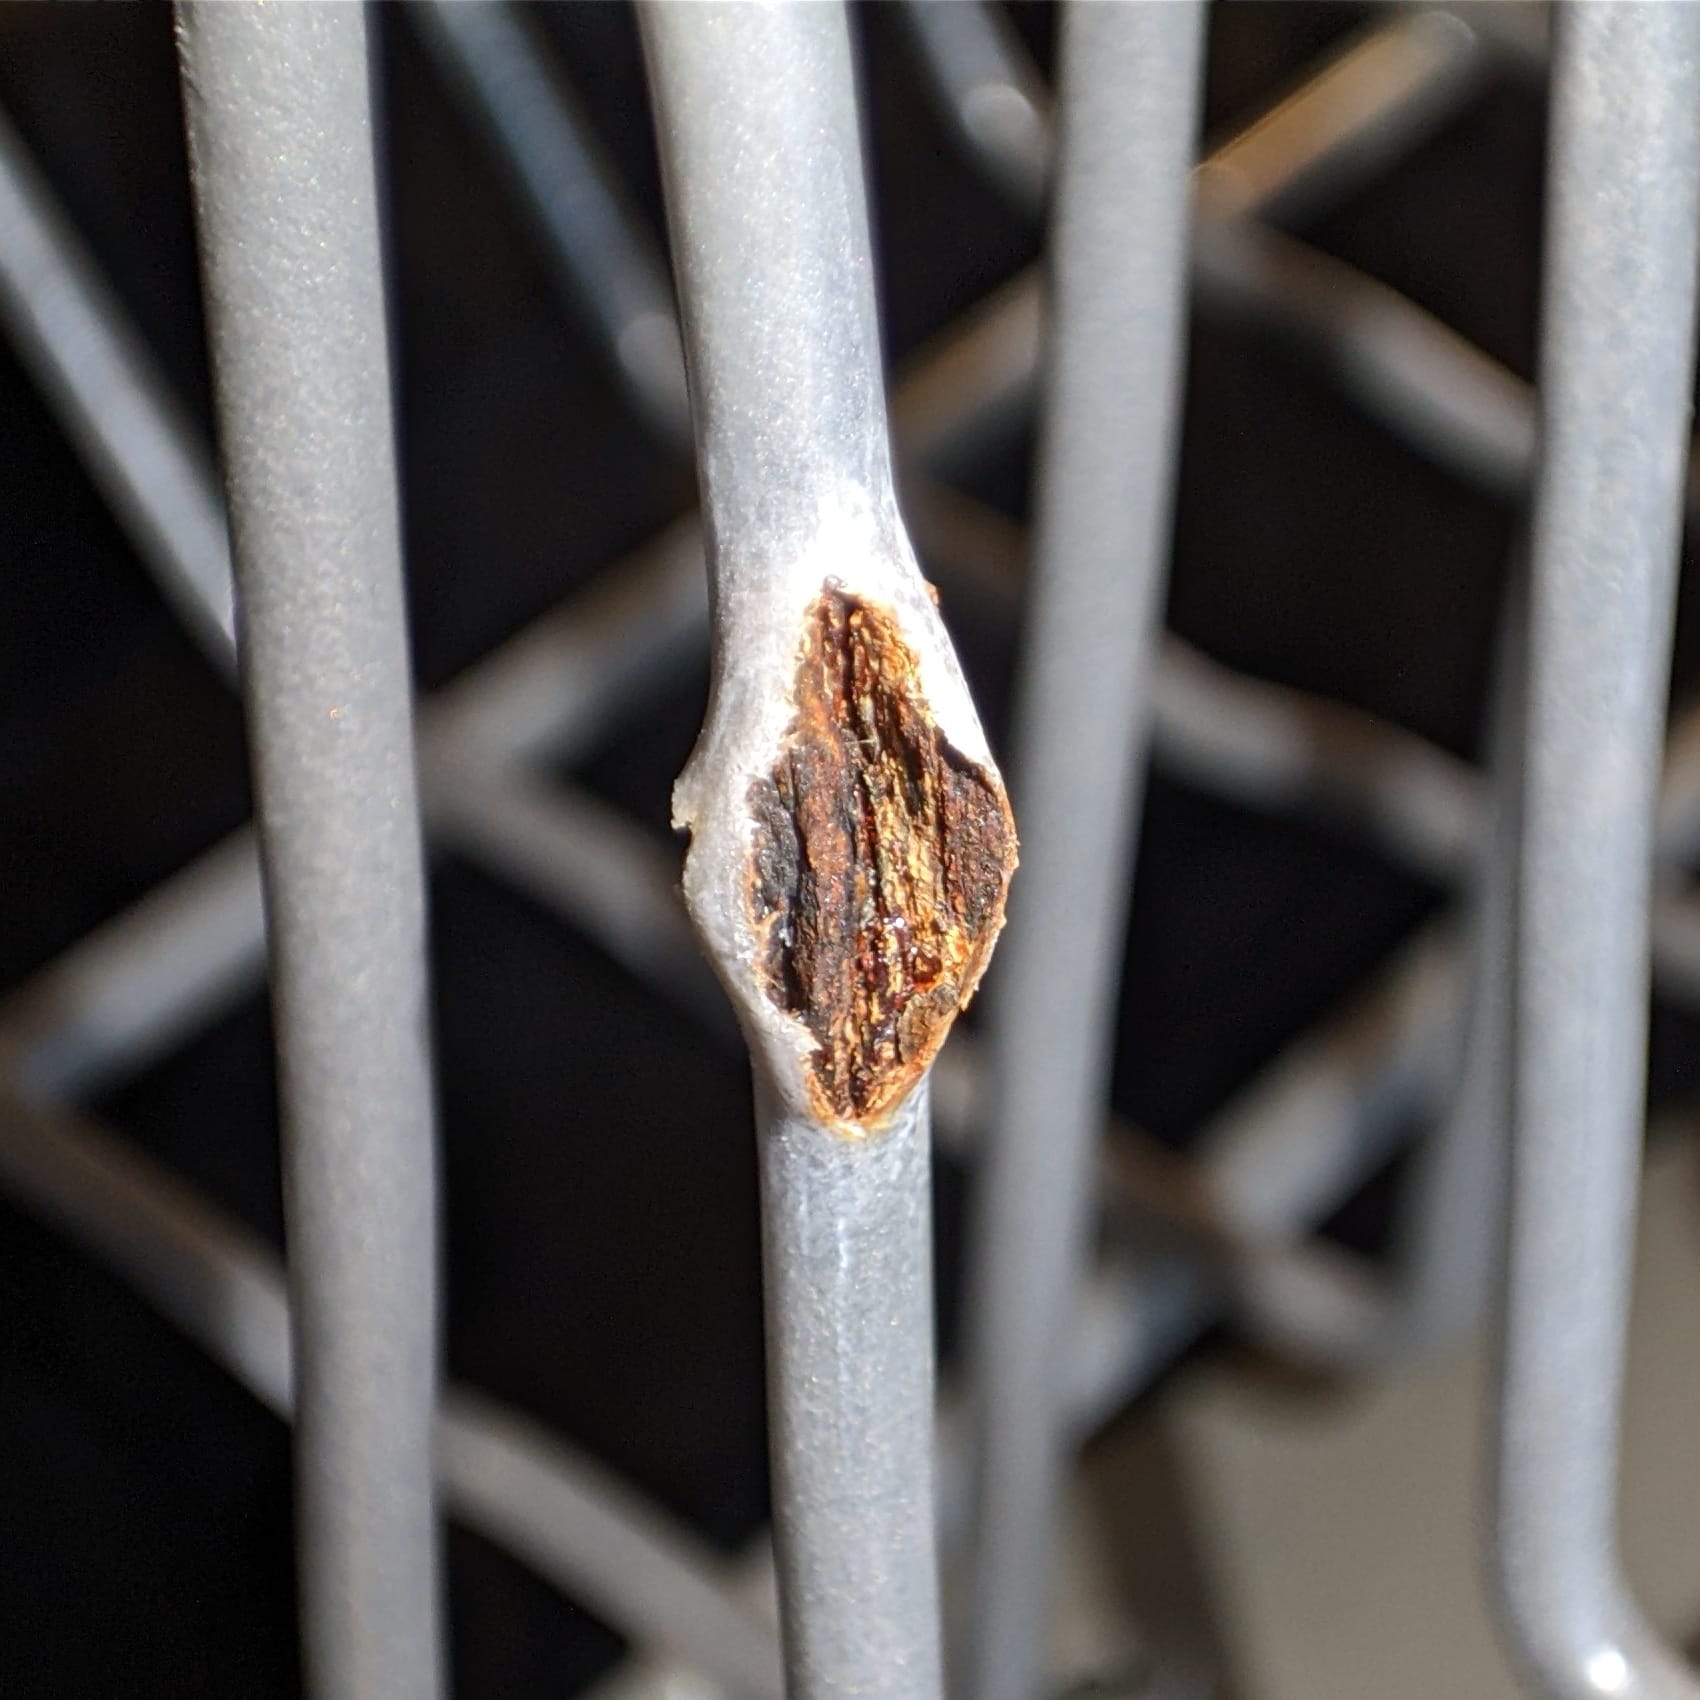
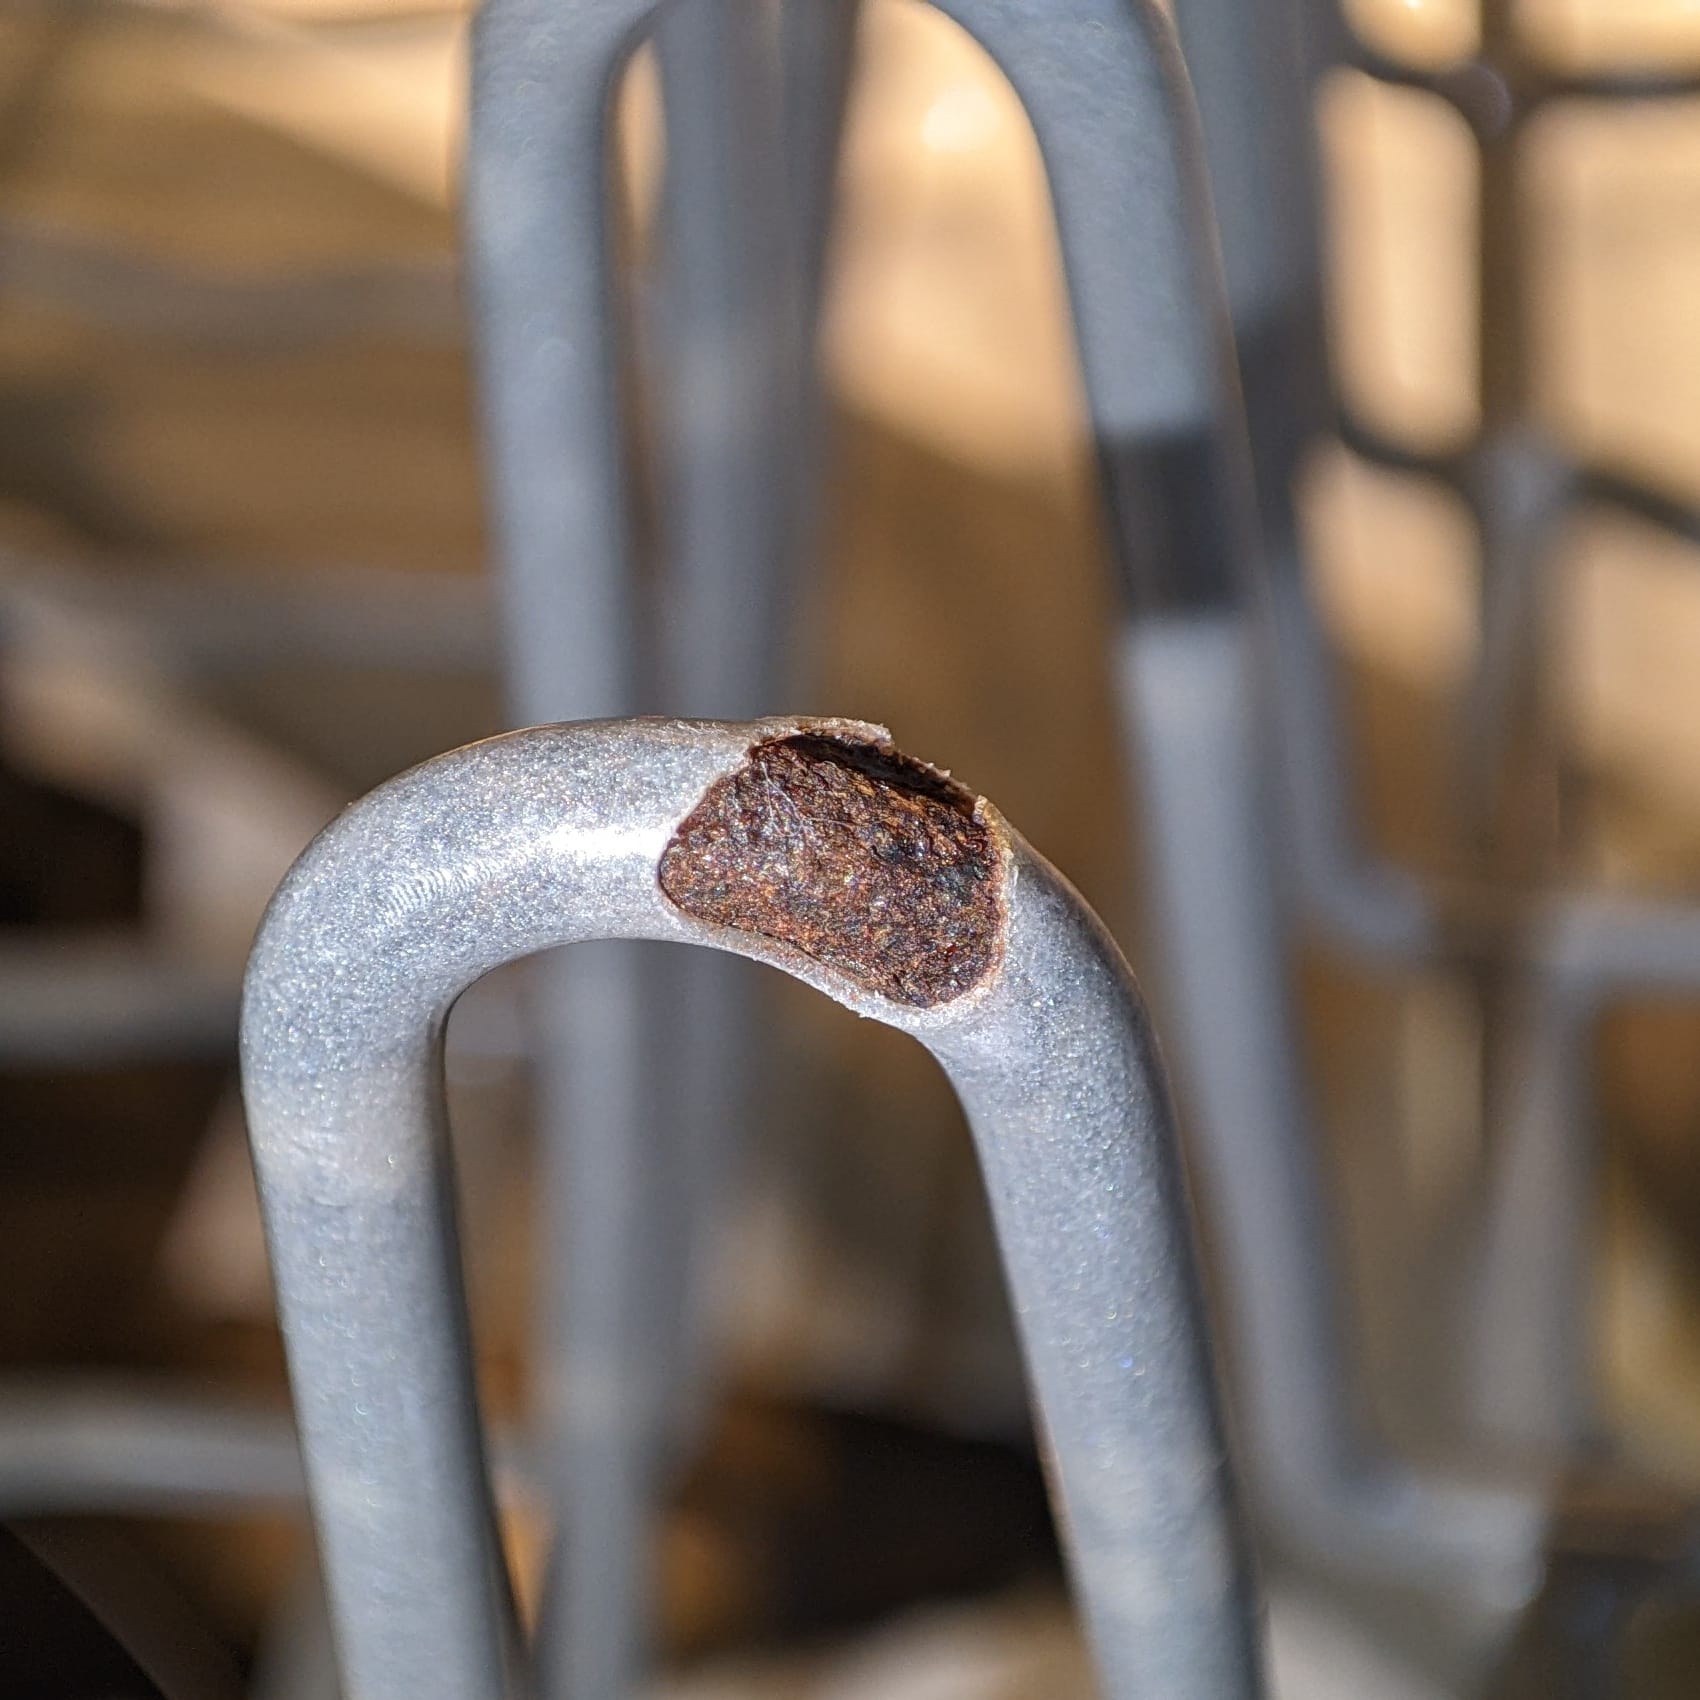
Damages before restoration
These are the two damages that need to be restored. The first damage has already existed for some time, as can be clearly seen from the thriving rust, which has literally burst open the original coating.
Exposing the damage
Initially, the damage must be completely exposed. To do this, I roughly cut away the coating with the cutter knife. To be on the safe side, I also expose about 3mm of apparently intact material.
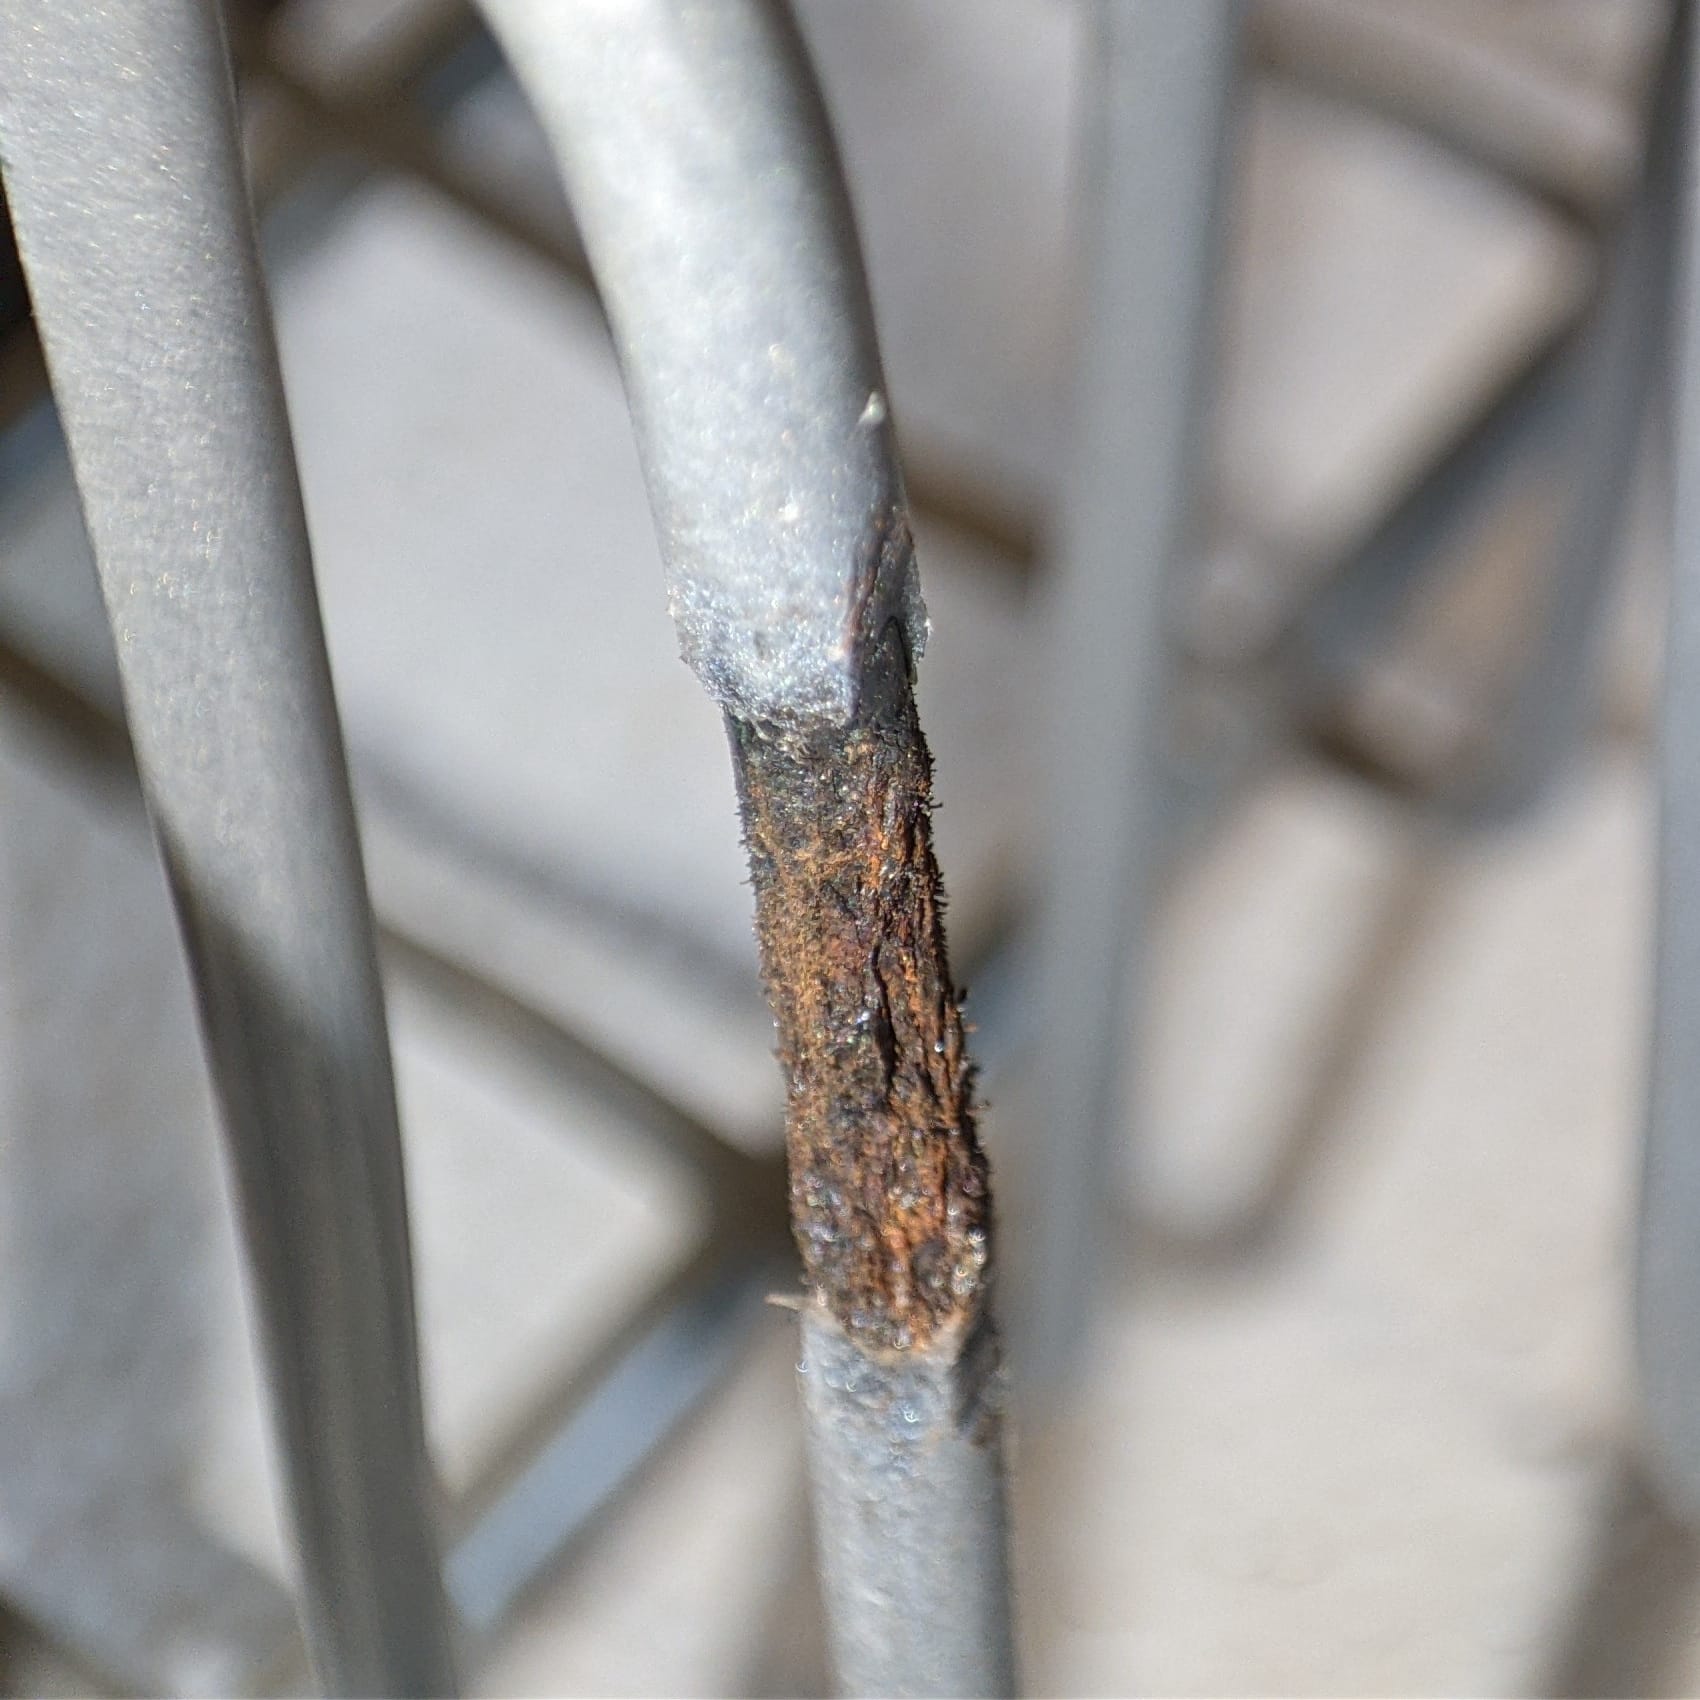
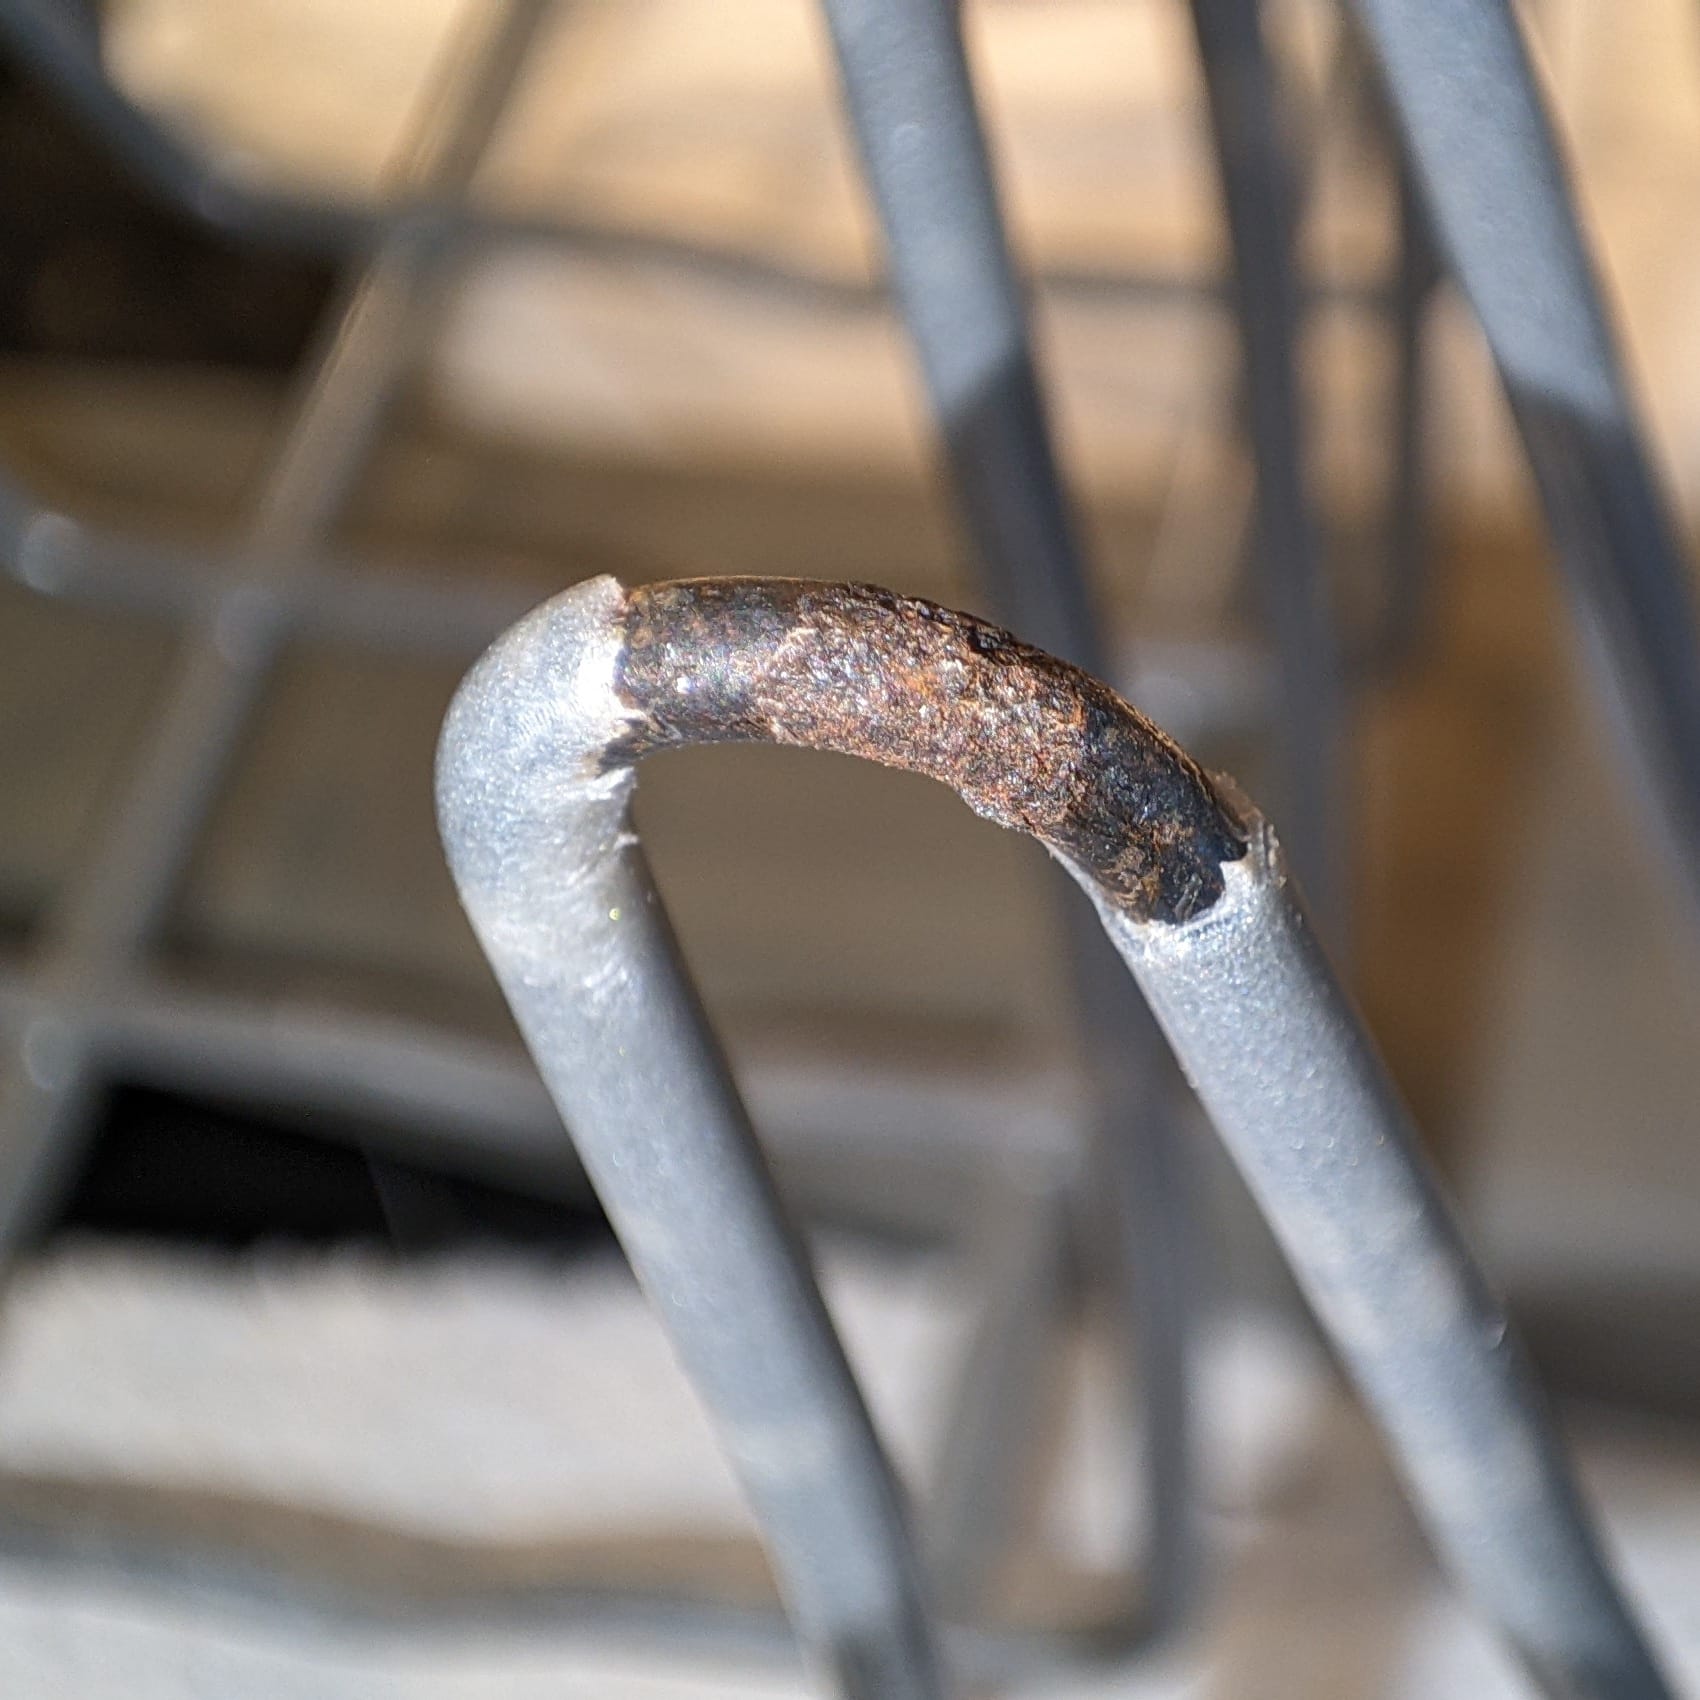
Damages exposed
Cleaning up the damaged areas
All loose rust must be removed. I carefully file it away, taking care not to damage the coating in new areas.
I also go over the intact metal with the file, whereby the cut edges slightly fray due to the filing. I then cut them clean again with the cutter knife.
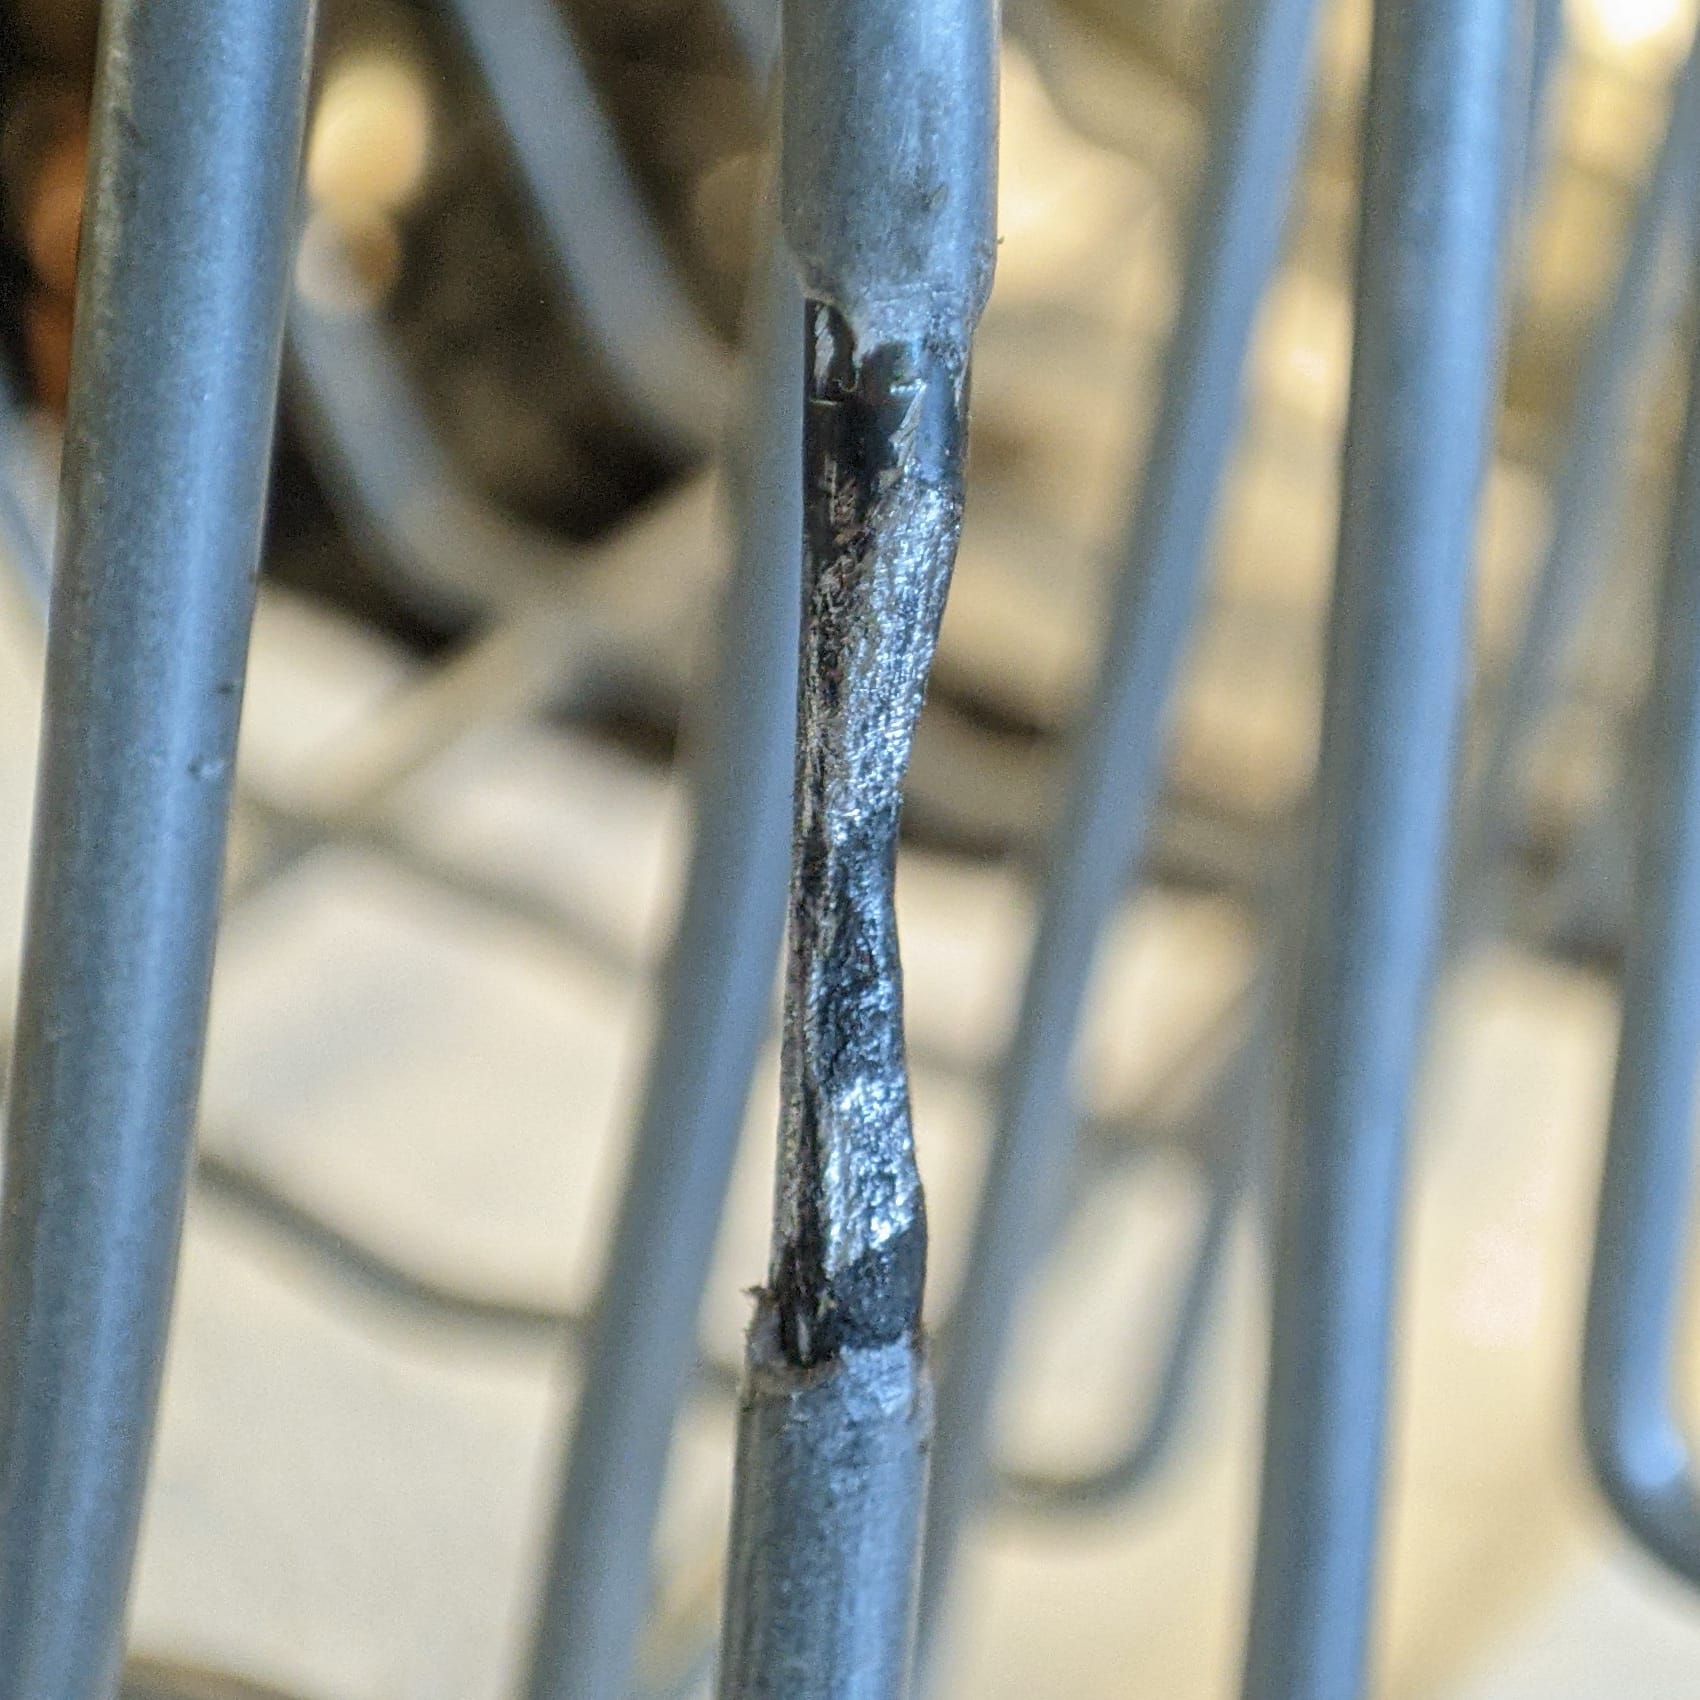
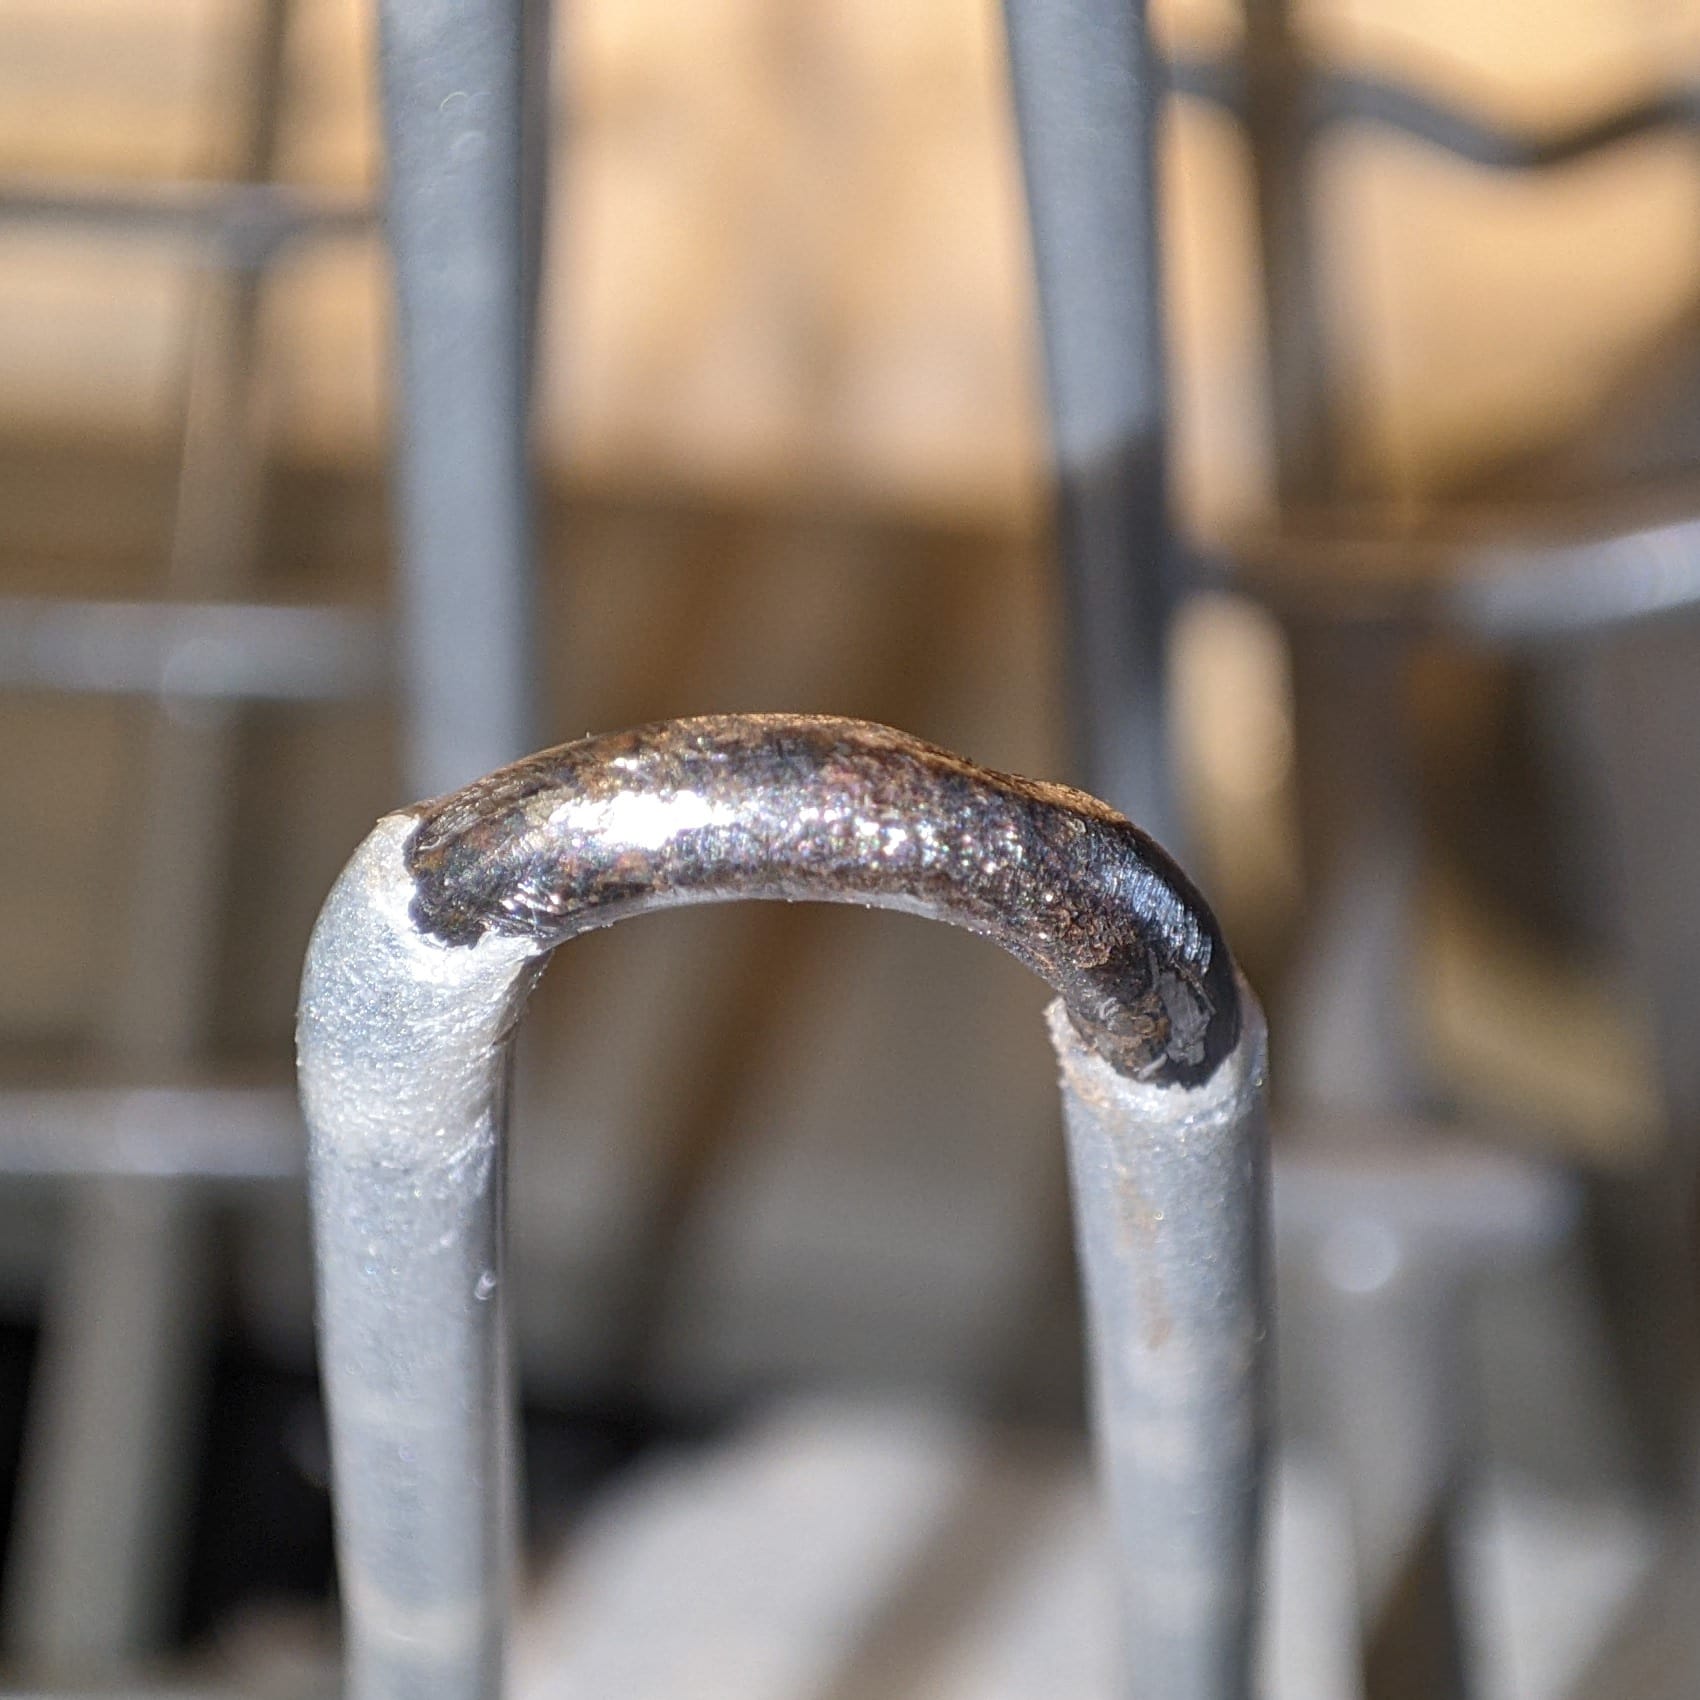
Damages cleaned up
Now we can see at the first damage, how much material has already fallen victim to rust. I will therefore have to apply more than the three coats recommended by the coating manufacturer to compensate for the loss of material, at least visually.
Applying rust converter
Now it's time to put on the nitrile gloves.
First of all, I decalcify the damaged areas over a large area (except for the PVC coating on both sides of the damaged areas) with a piece of kitchen paper soaked in vinegar essence, then rub them dry. Then I clean and degrease everything with another piece of kitchen paper and isopropanol.
Now I use the rust converter, which quickly turns the metal black.
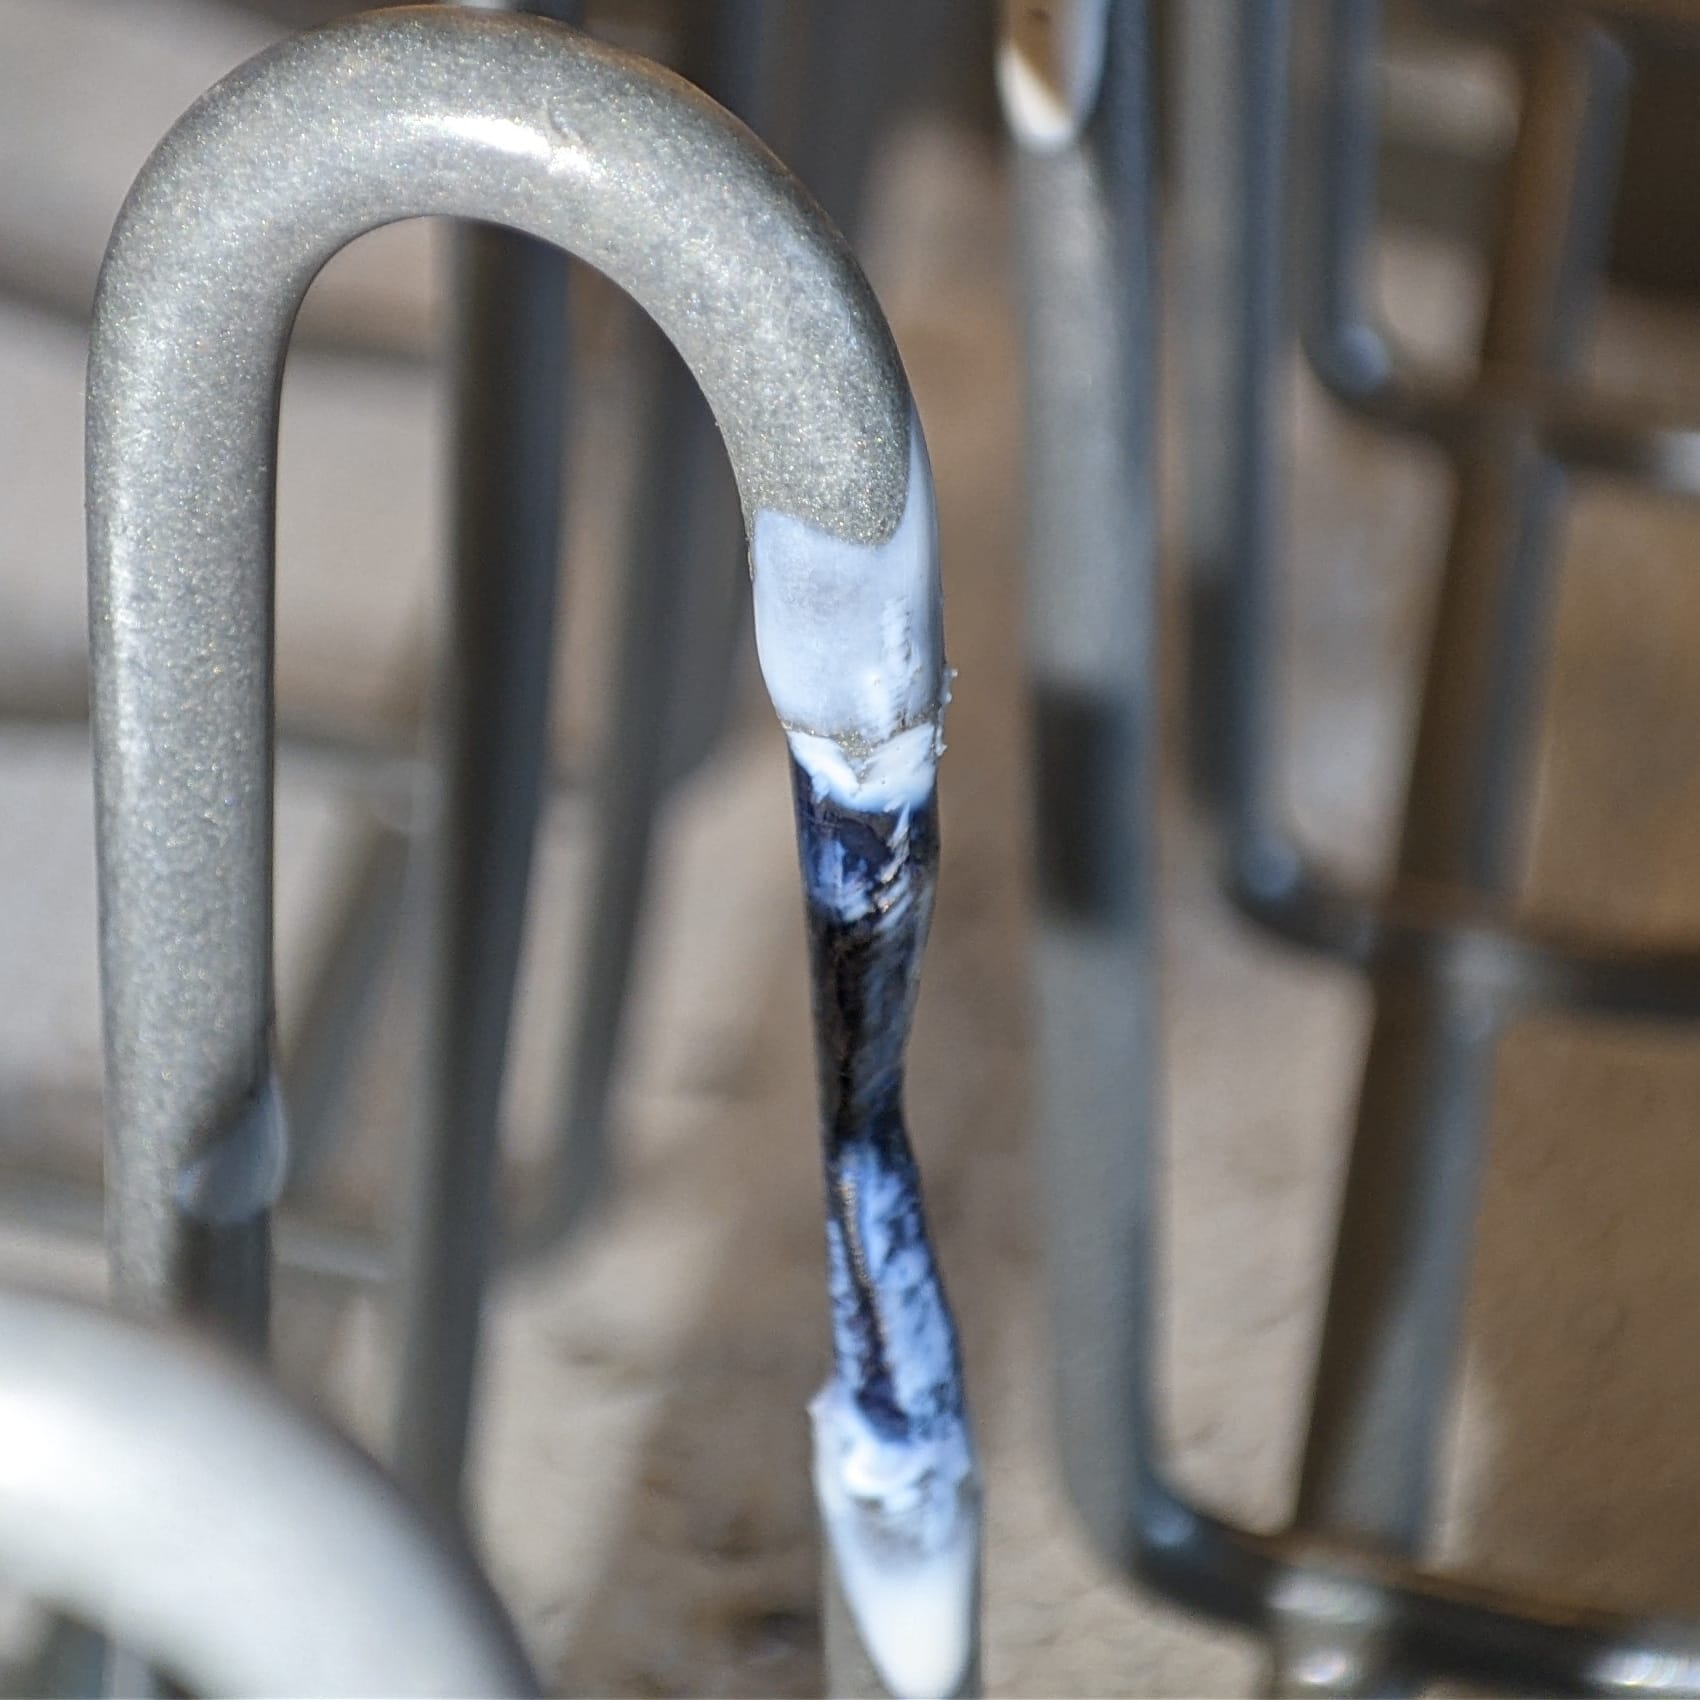
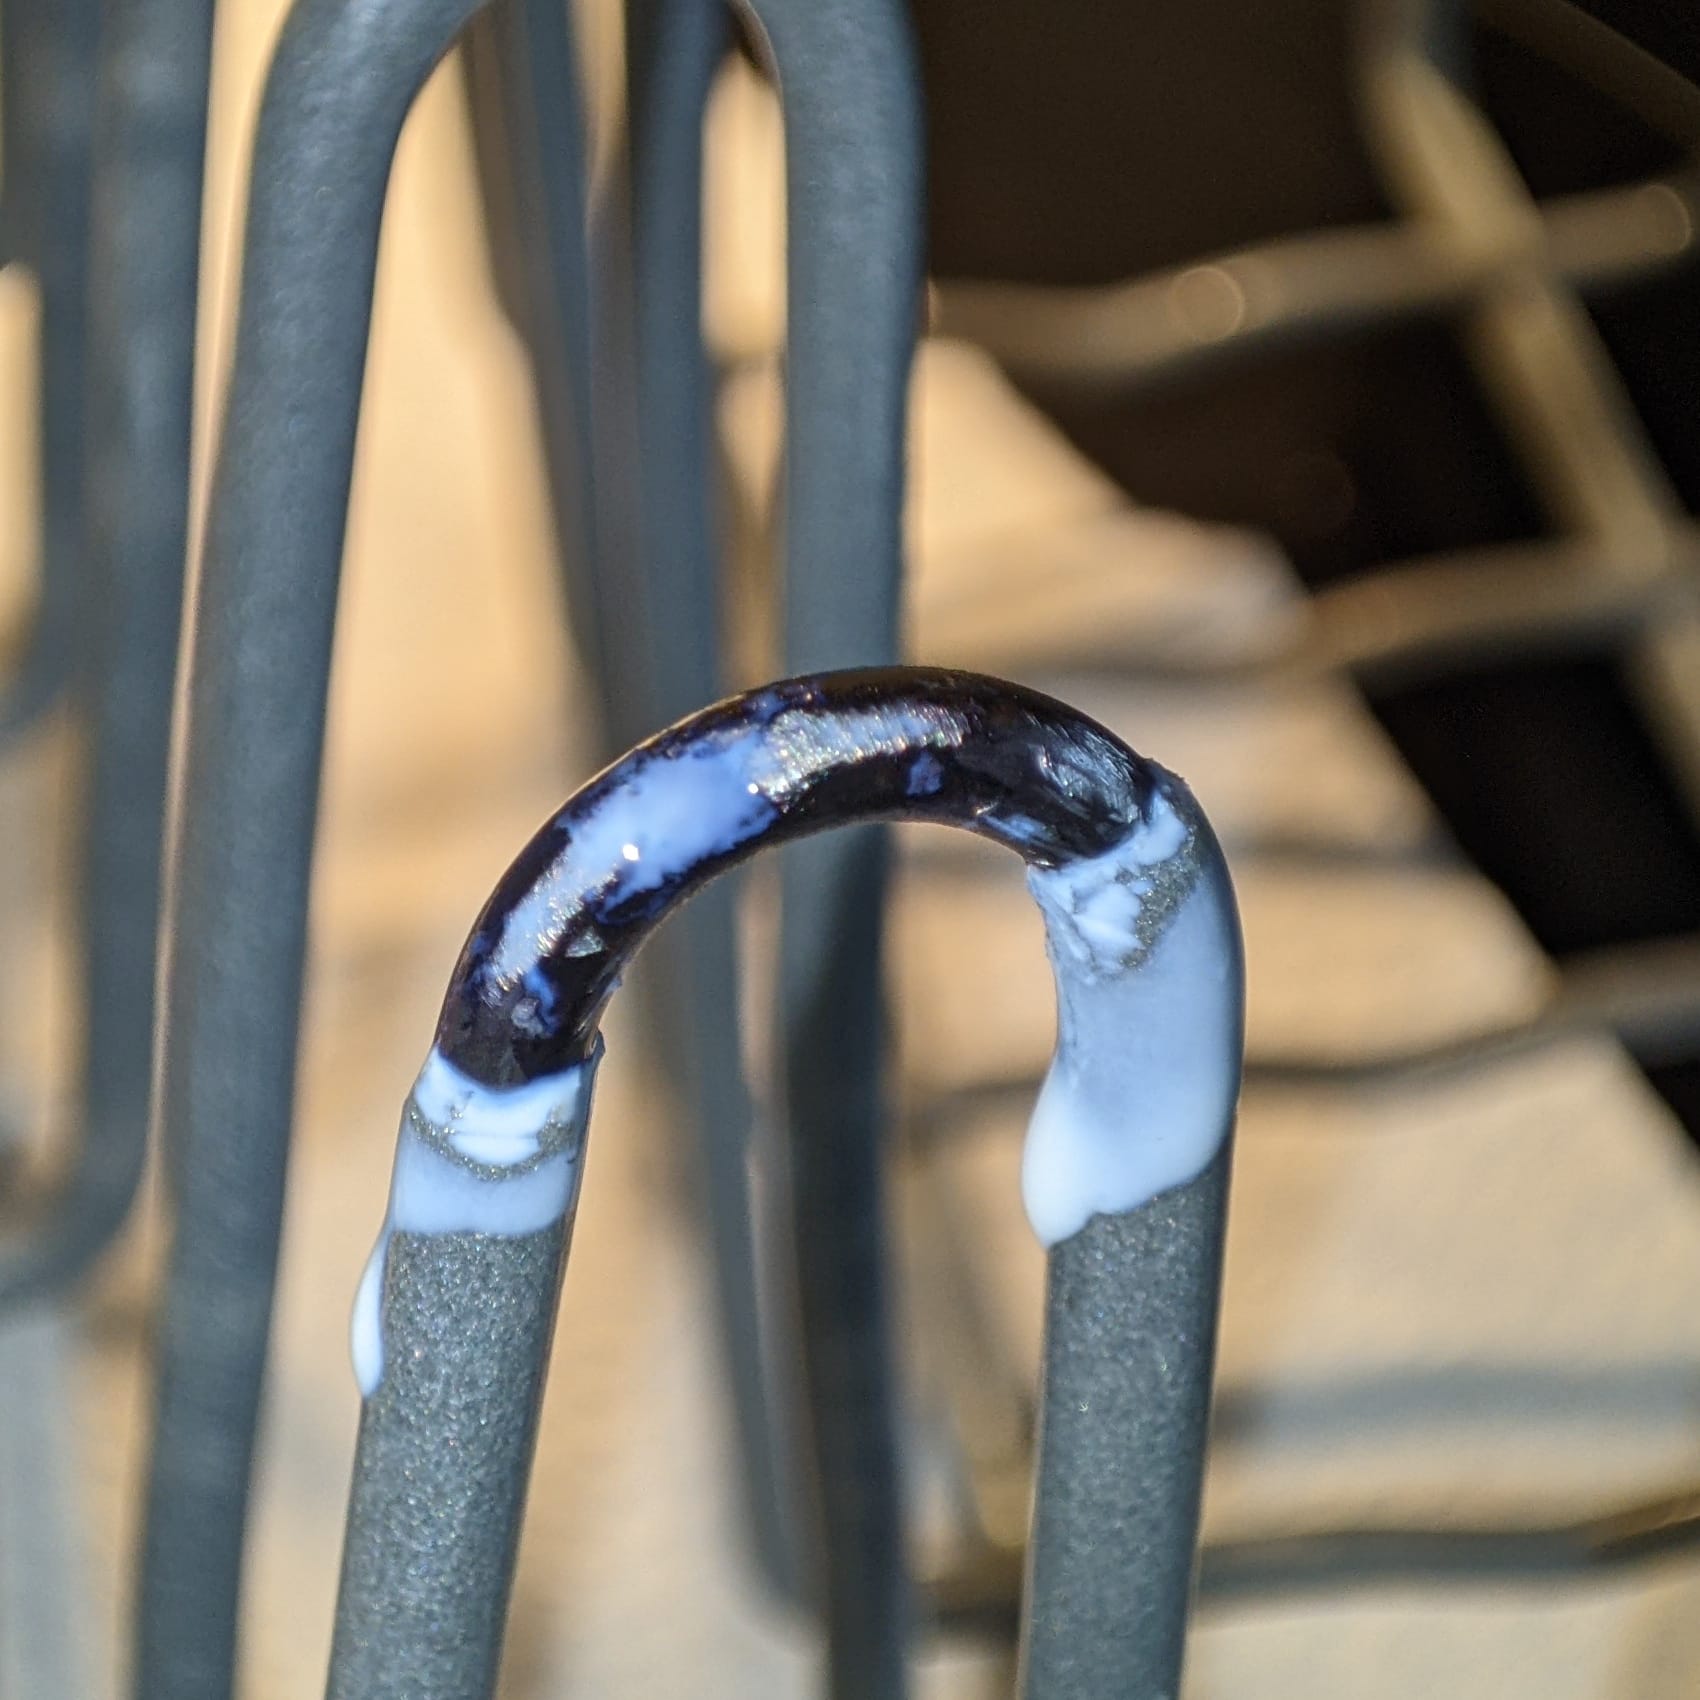
Rust converter applied
After a reaction time of six hours, in my case according to the application instructions, the residues (especially from the PVC coating) are rubbed off with isopropanol. Again, it is advisable to wear gloves while doing this.
Applying the PVC coating
Now the damaged areas are being made nice-looking again. The first coat is applied.
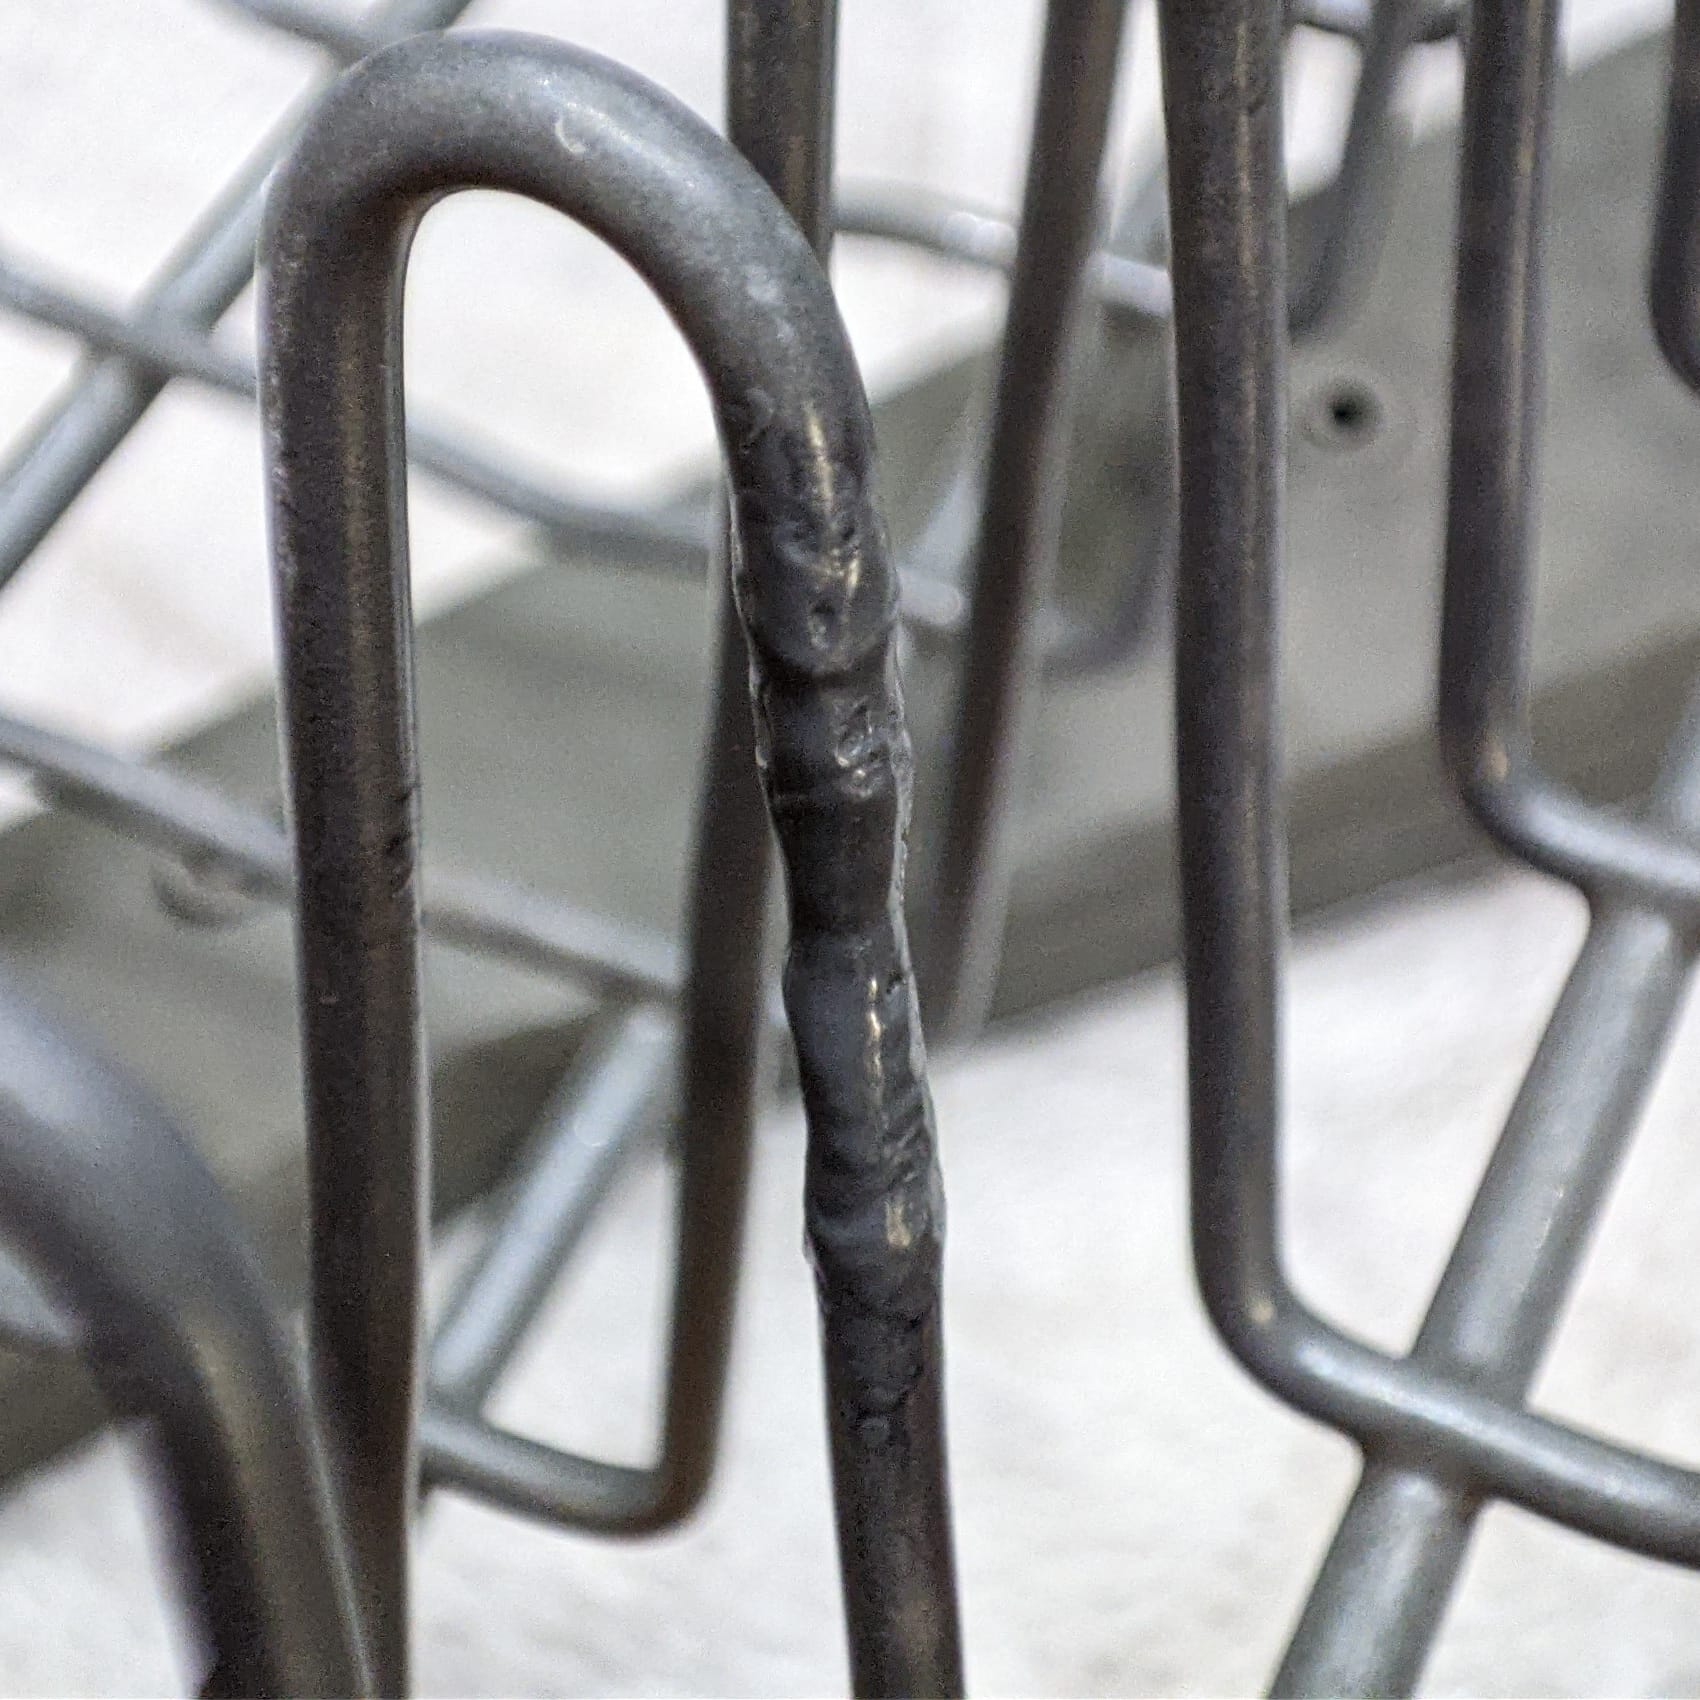
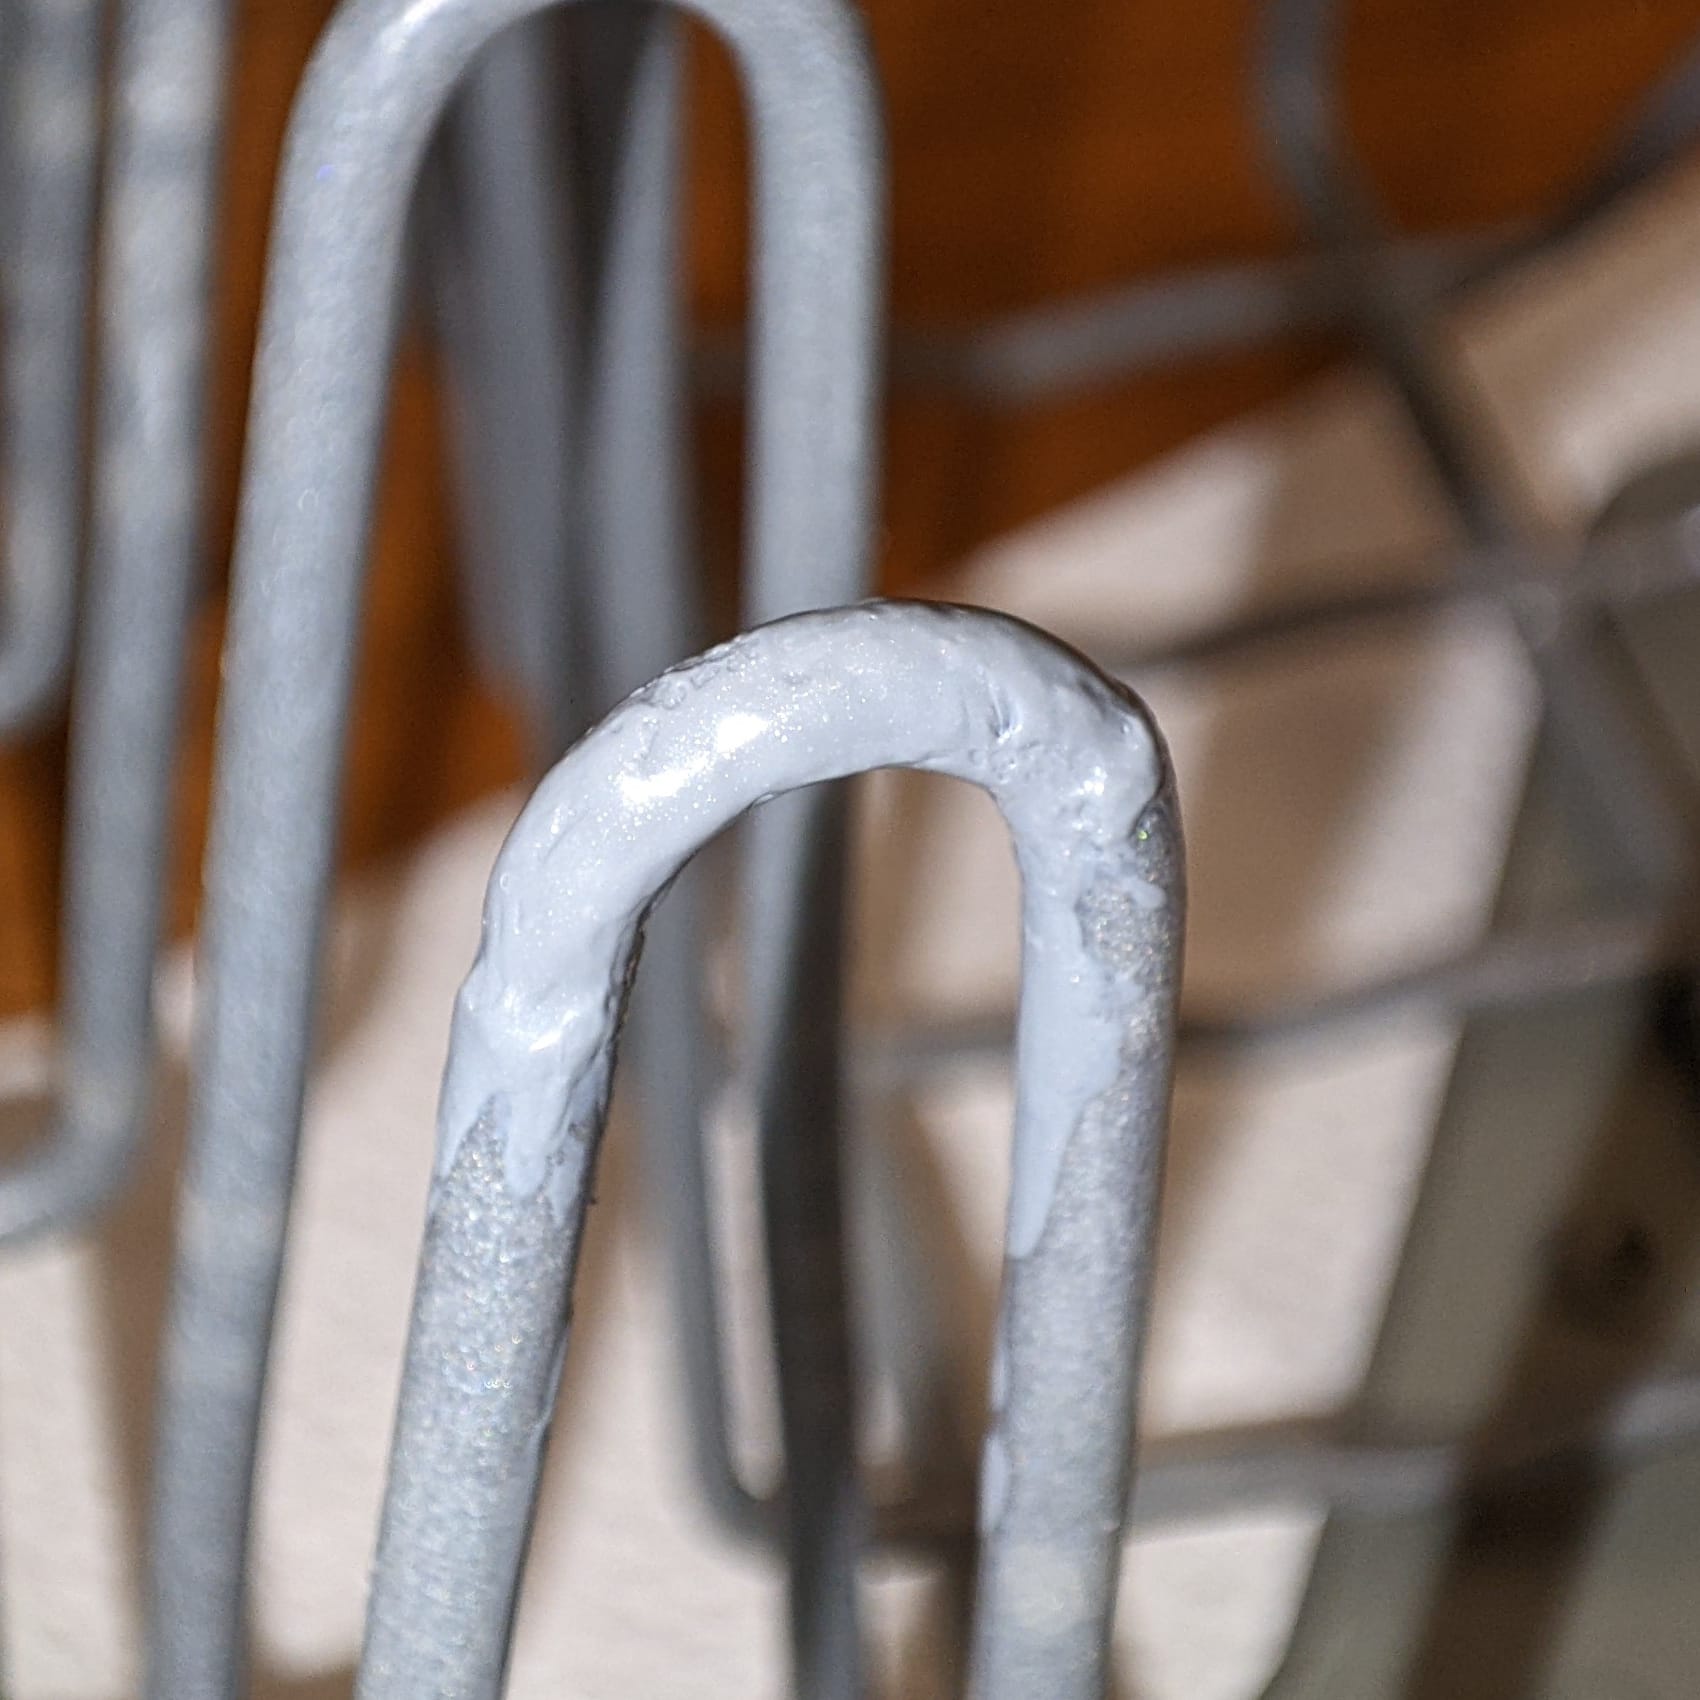
PVC coating, first layer
Unfortunately, the PlastiDip coating remains flowing for a relatively long time, even though it is actually very viscous. So I probably applied a little too much for the major damage, which I wanted to use to compensate for the loss of material.
I corrected this after about 15 minutes by carefully pressing it into shape with a toothpick.
Wait a total of 30 minutes before applying the second coat.
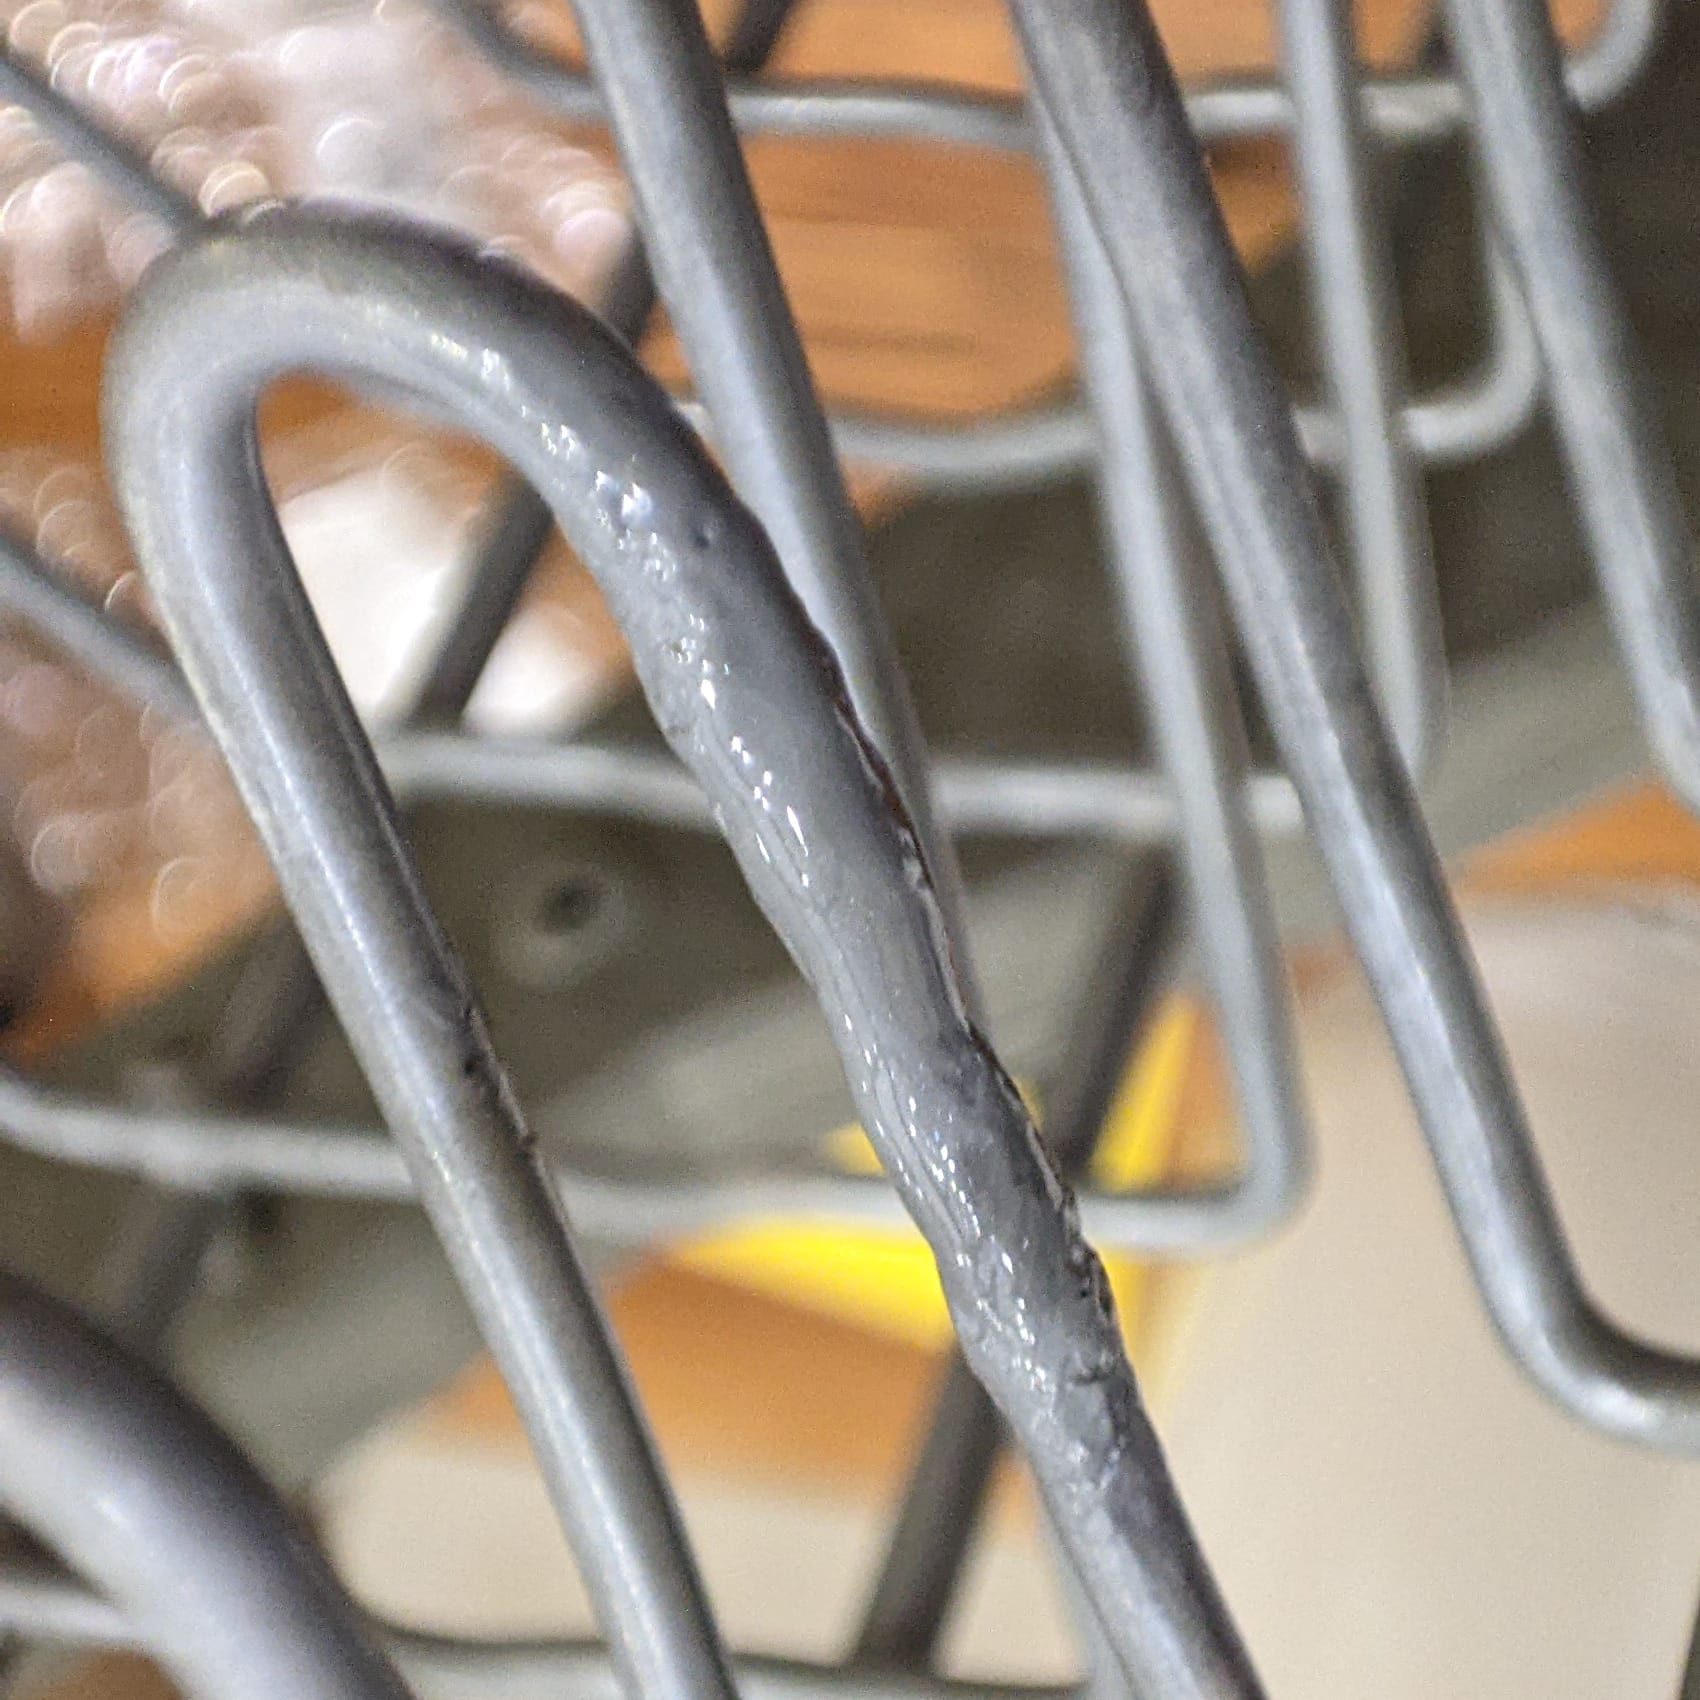
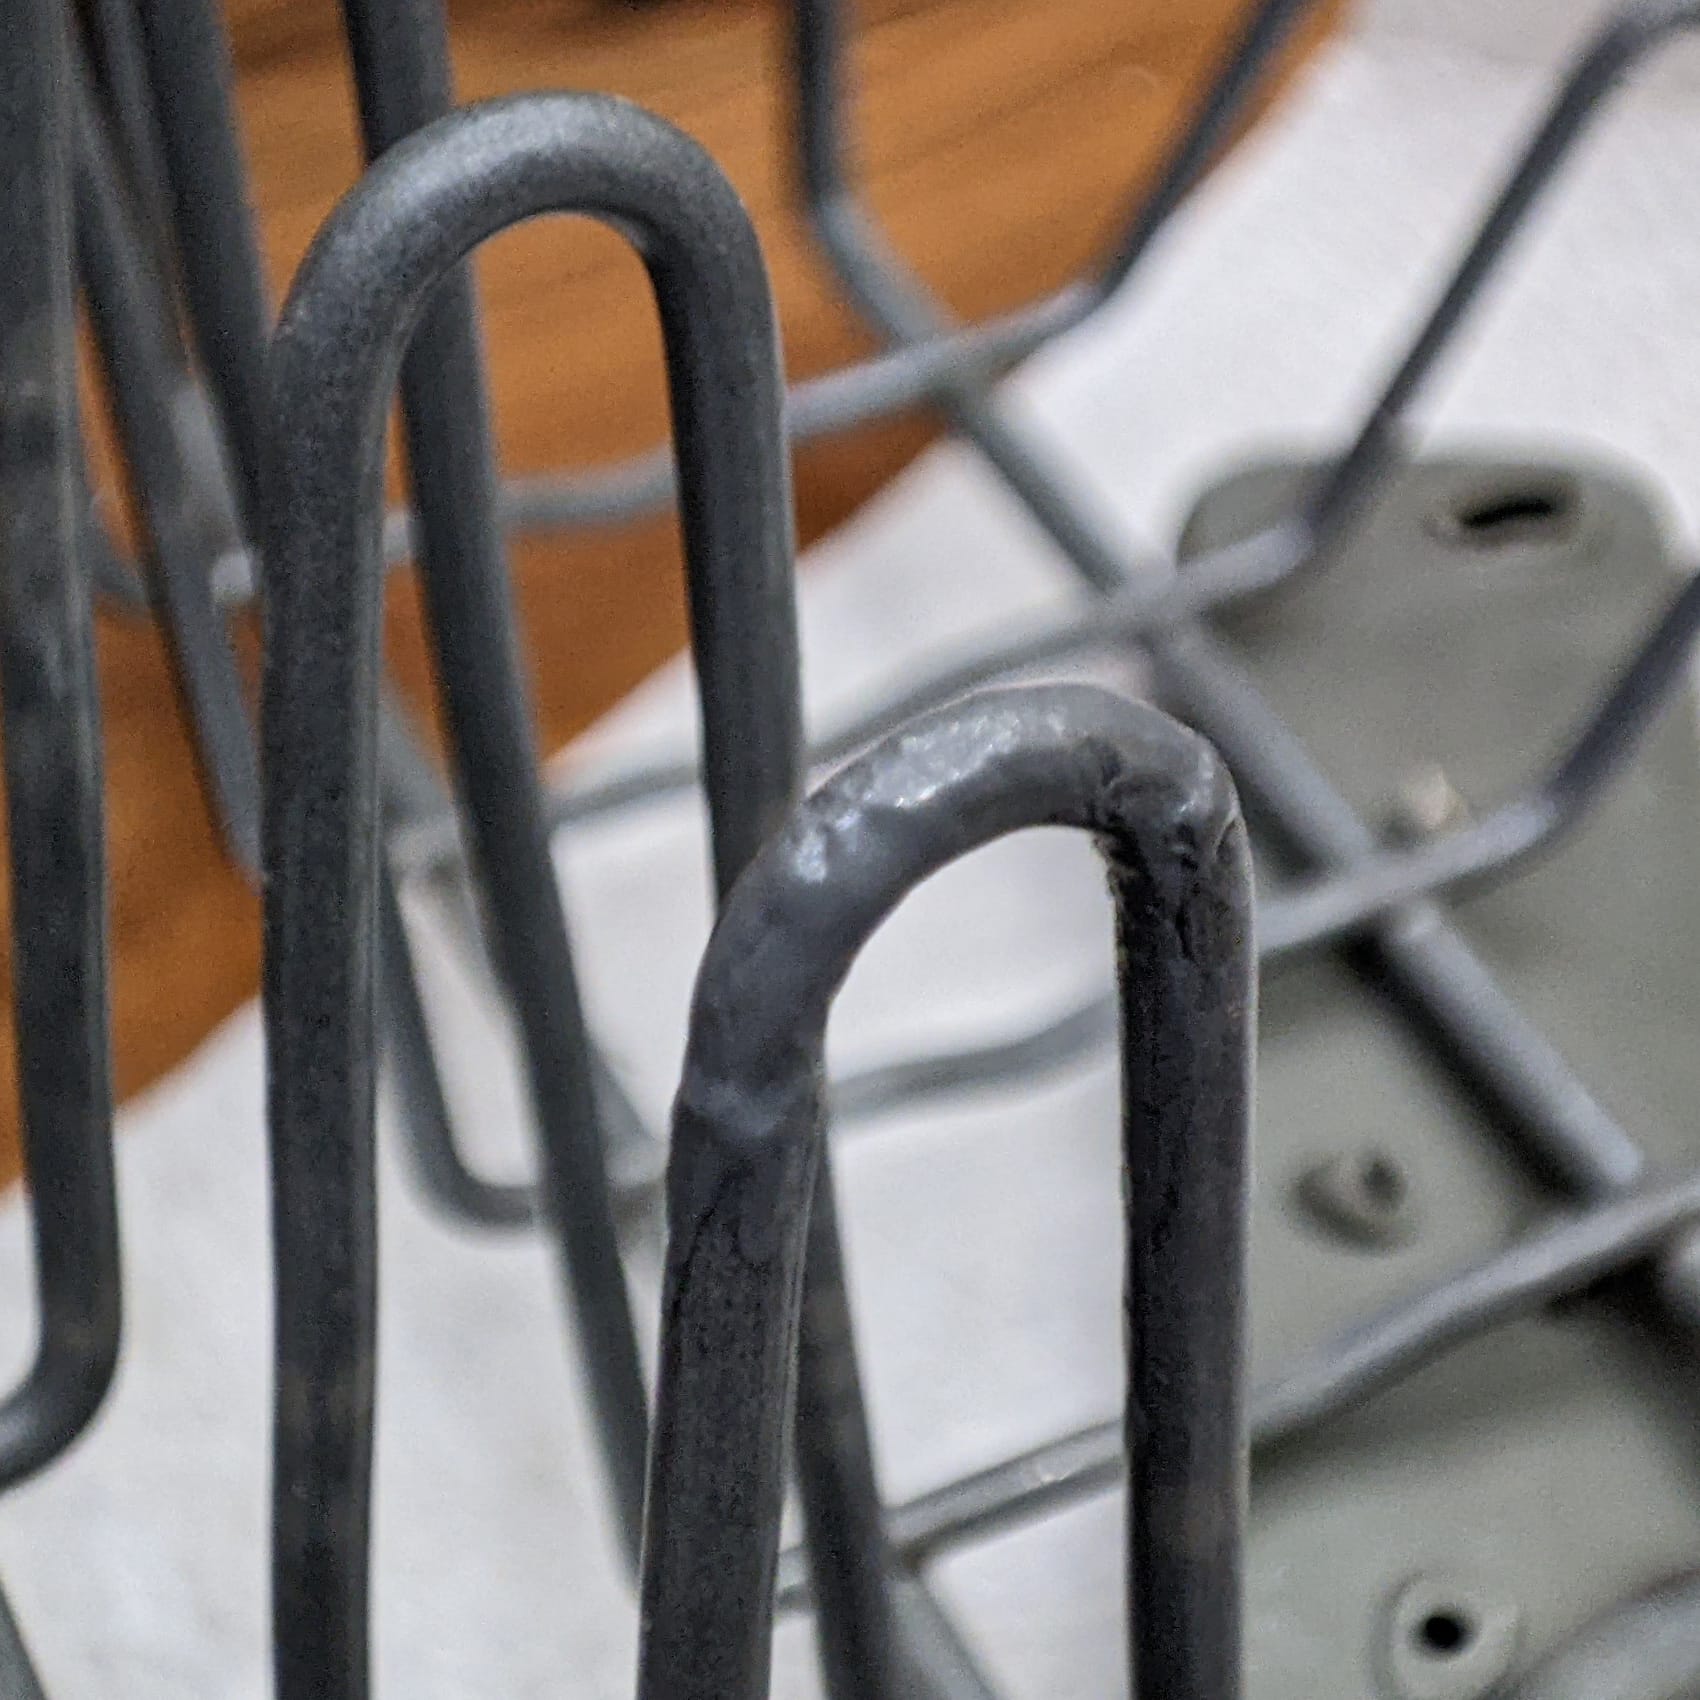
PVC coating, second layer
Freshly applied, it looks quite thick, but as the solvent evaporates (ventilate well!), the coating shrinks a little.
From now on, I turn the dish rack on its side for the drying time of 30 minutes so that the coating doesn't move away again.
The third coat is applied.
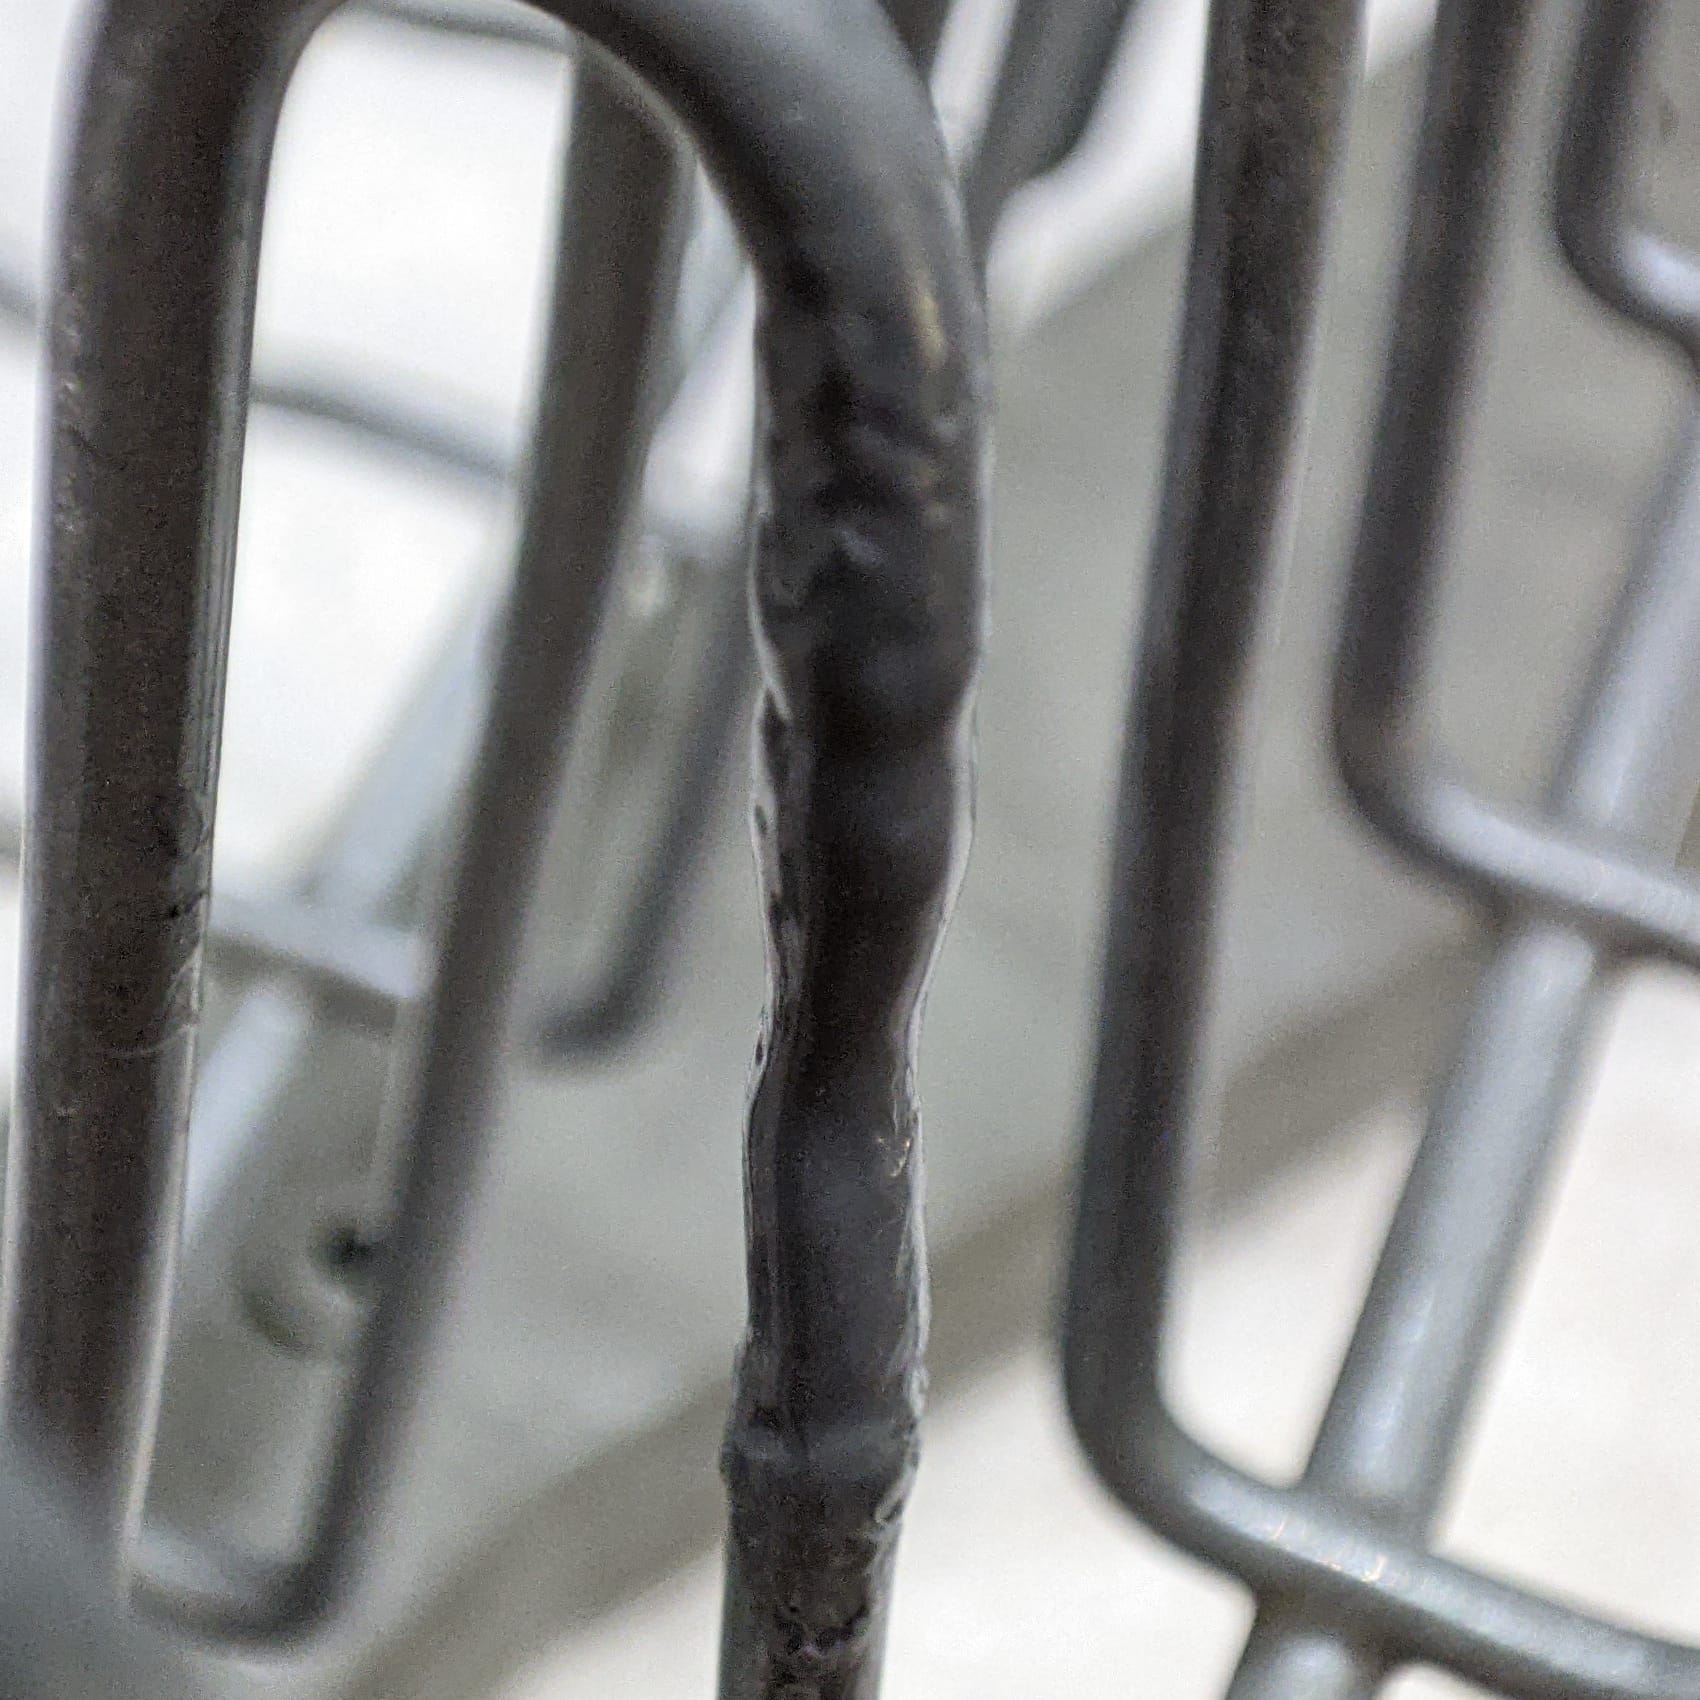
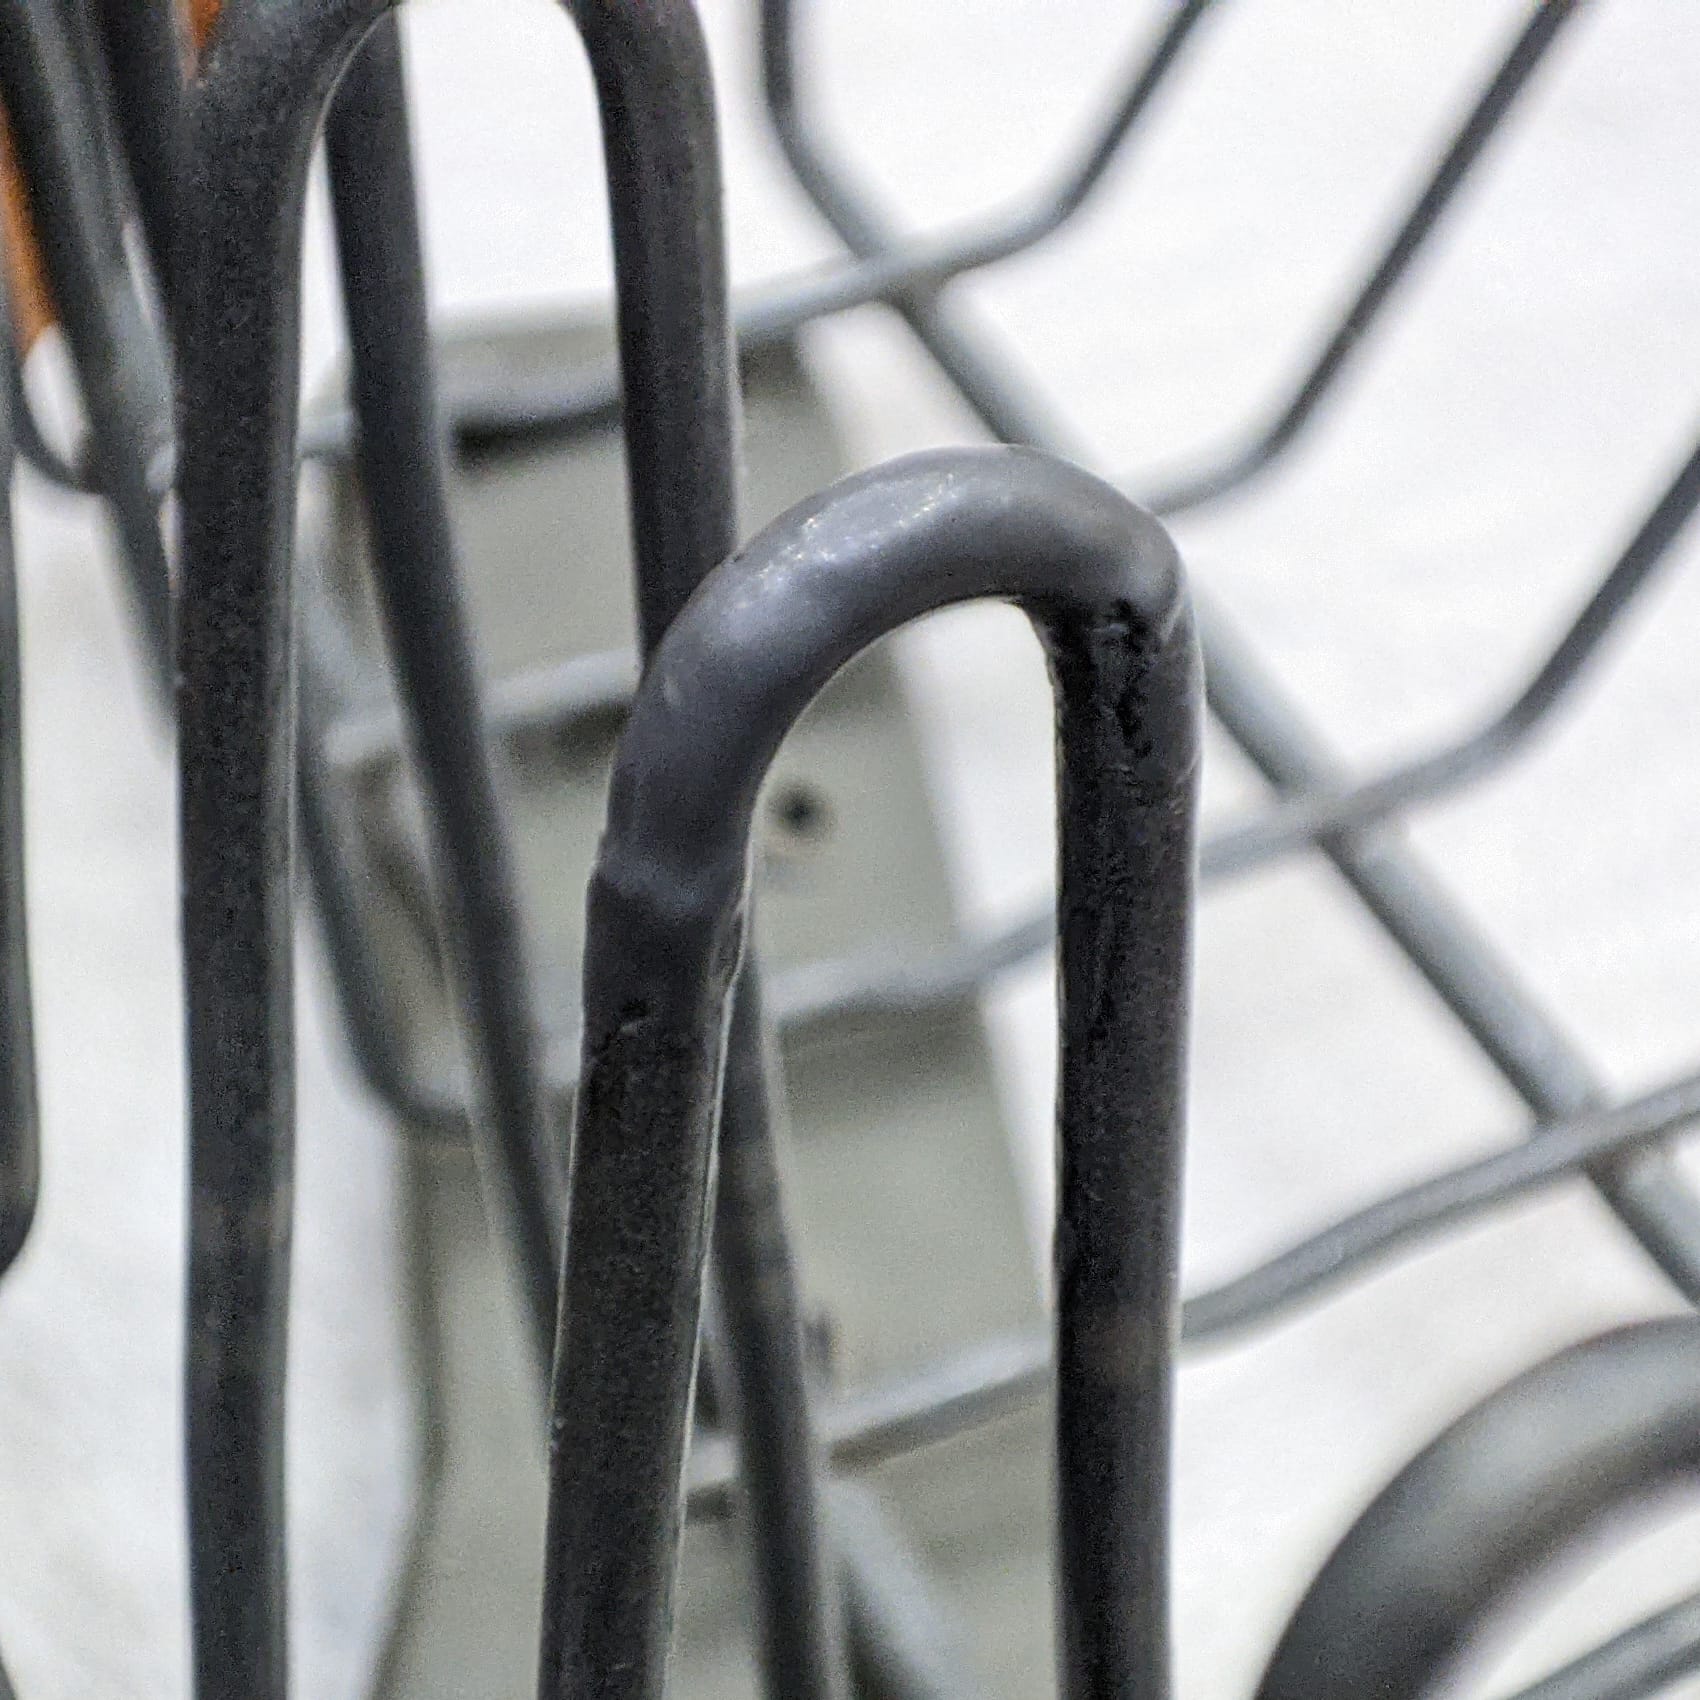
PVC coating, third layer
Slowly it gets a little smoother. Wait another 30 minutes...
Only the first damaged area now receives an additional layer to compensate for the material loss.
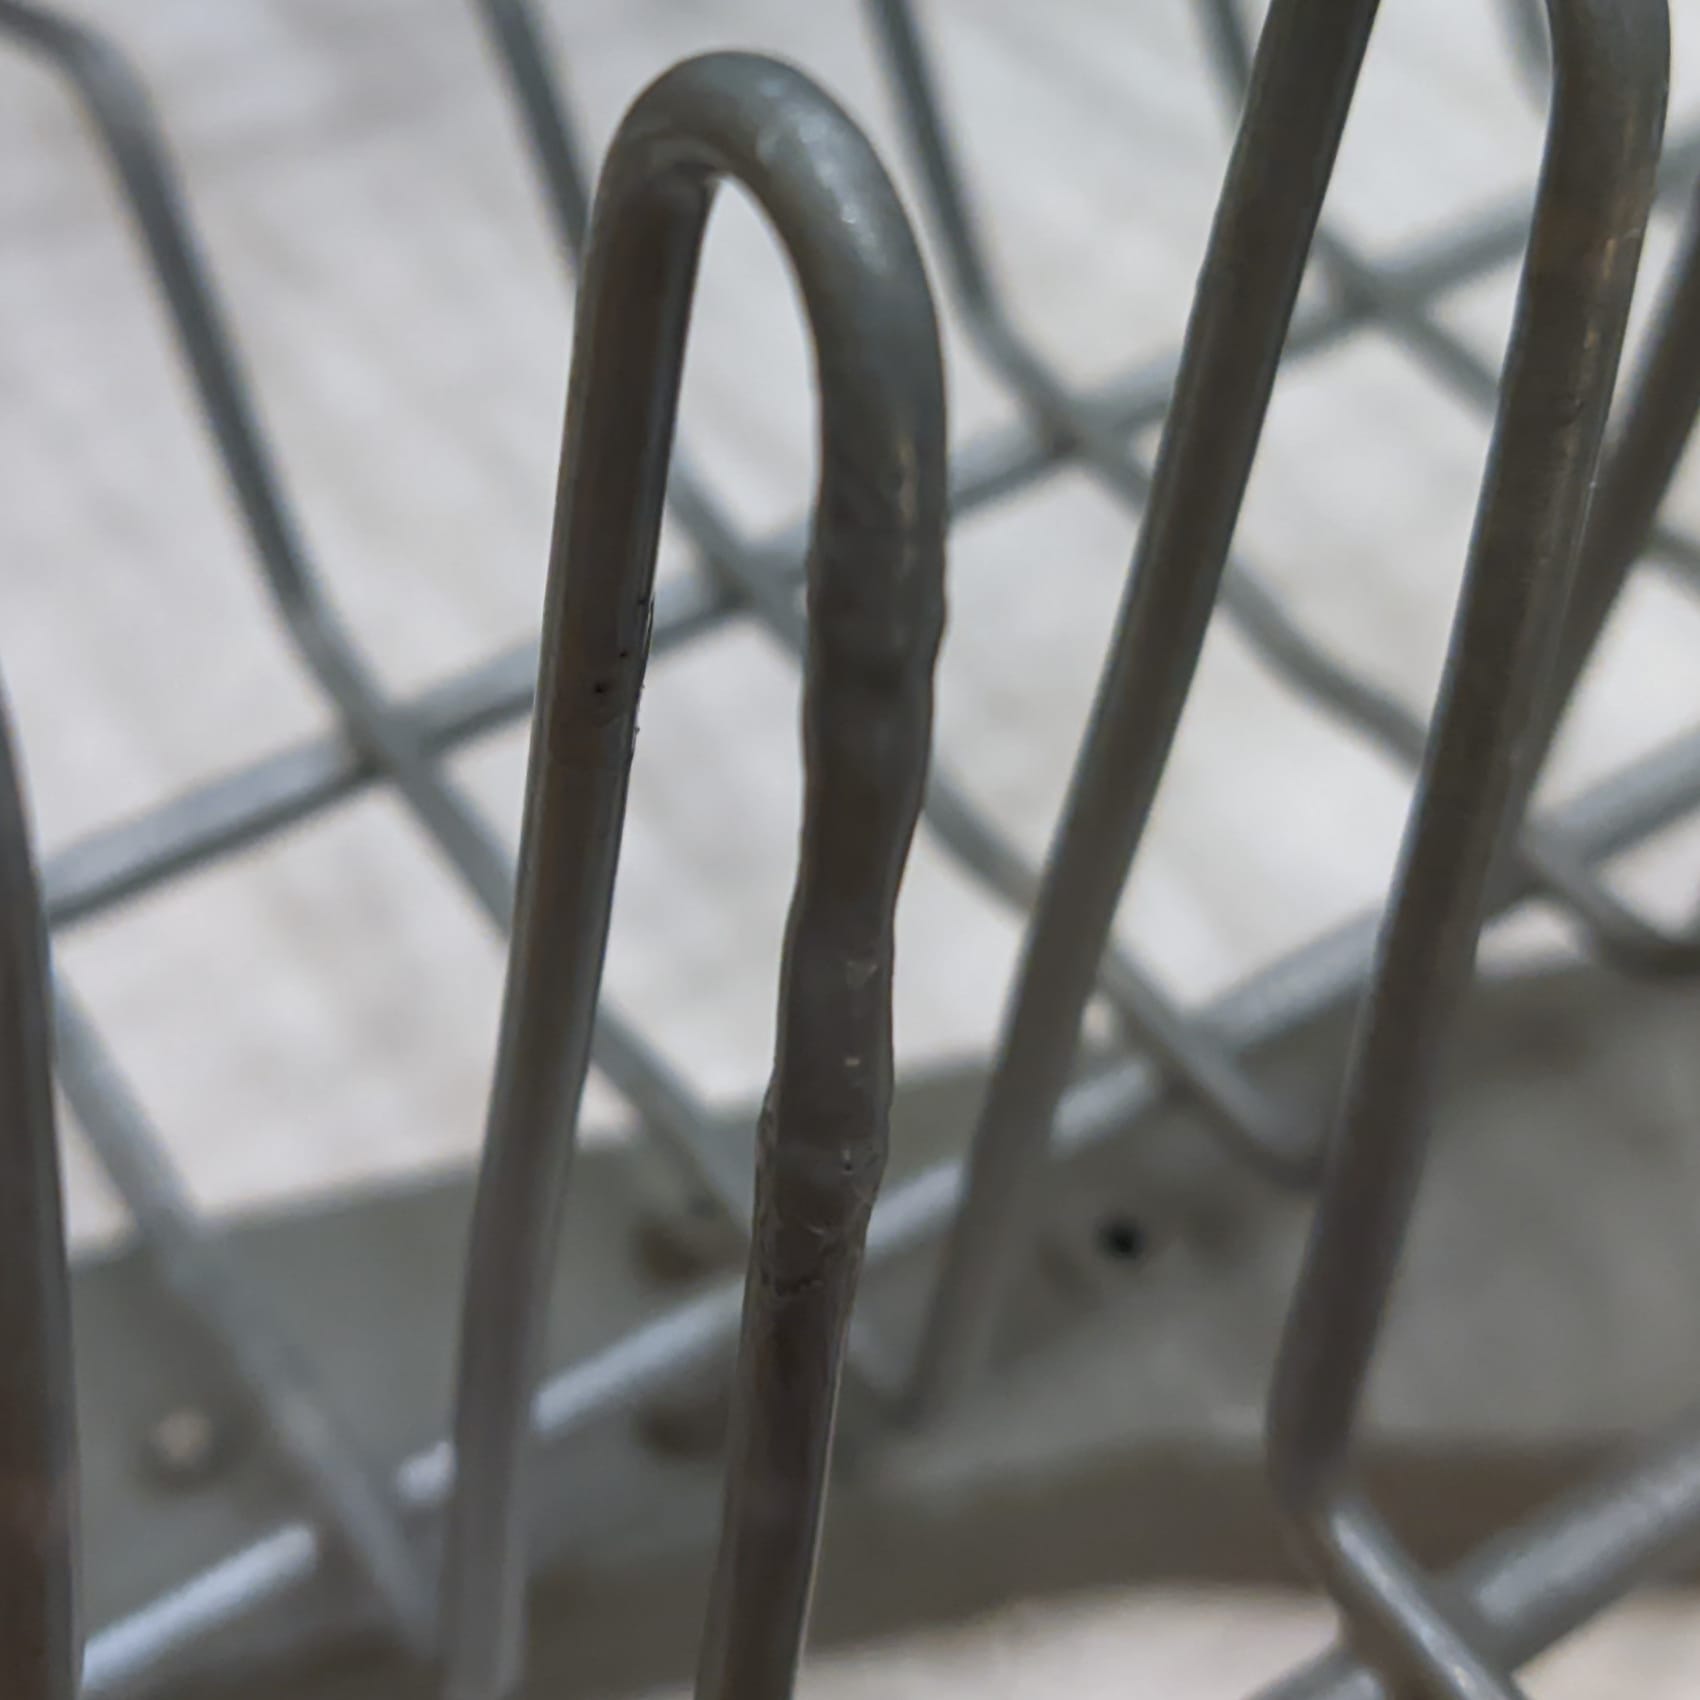
PVC coating, additional layer for the more extensive damage
Before I apply the last coat, I let the coating harden for a few hours.
The result
The last coat is applied very thinly, as the aim is now only to improve the appearance.
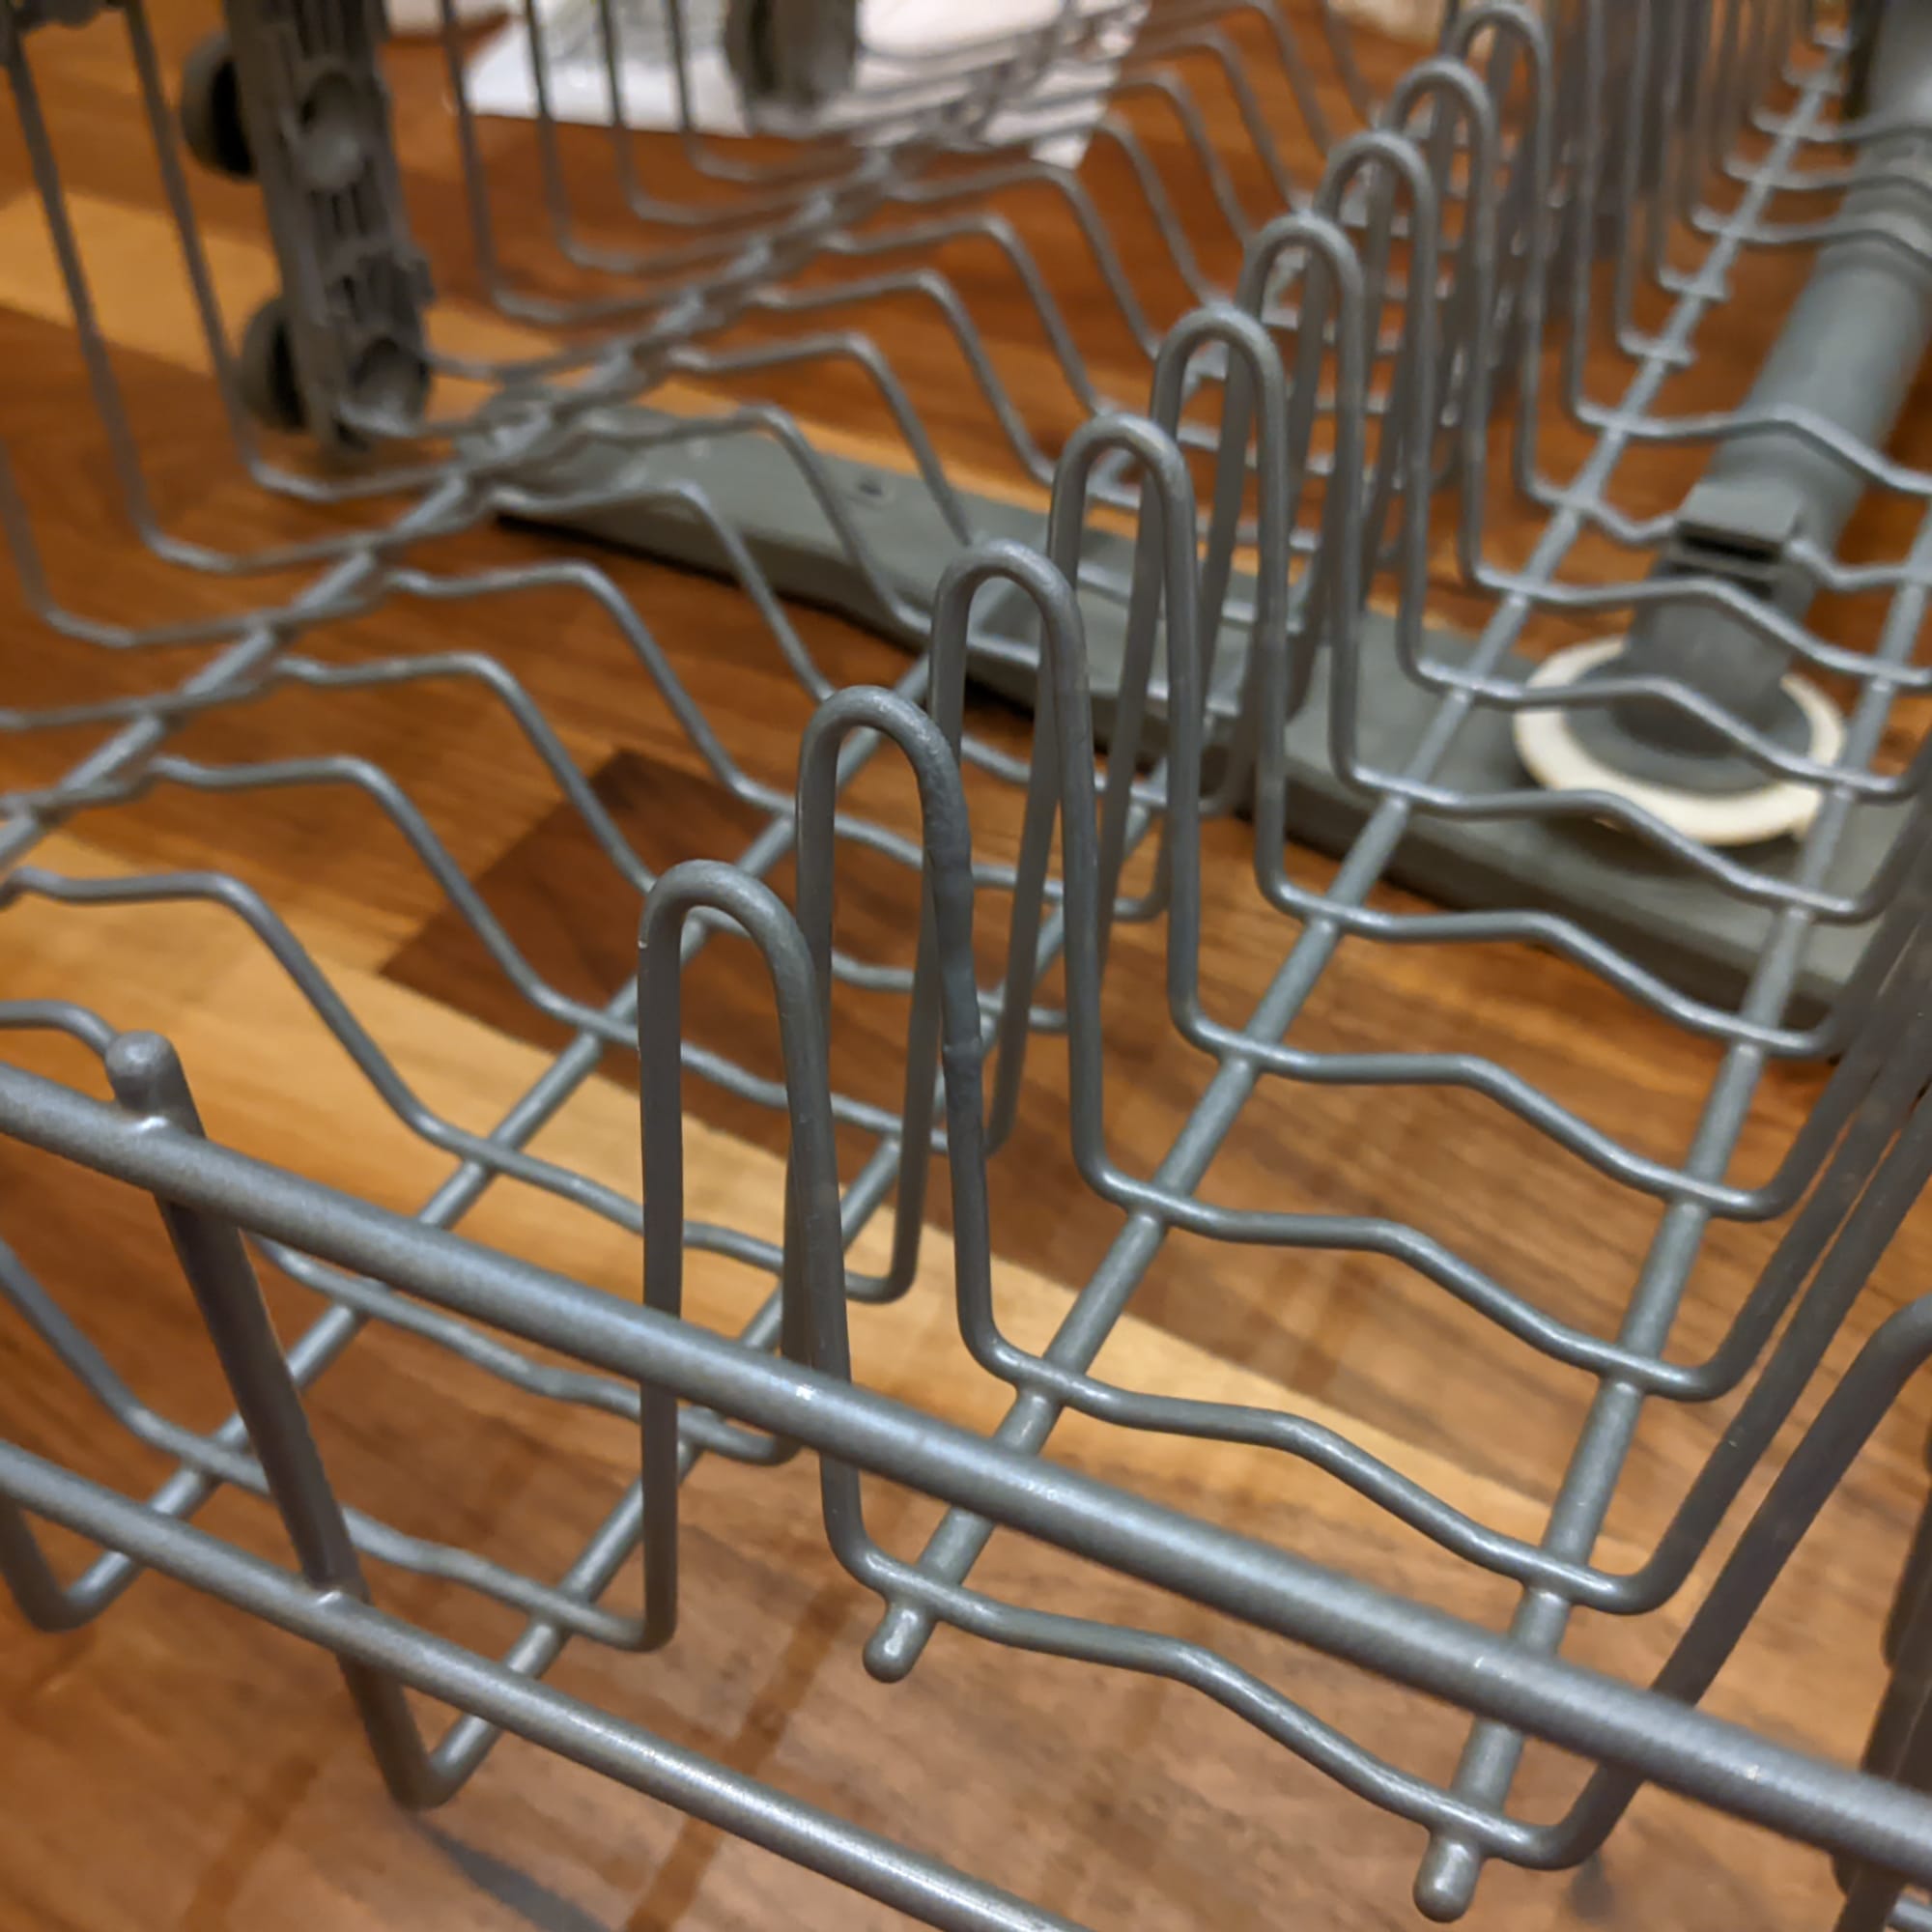
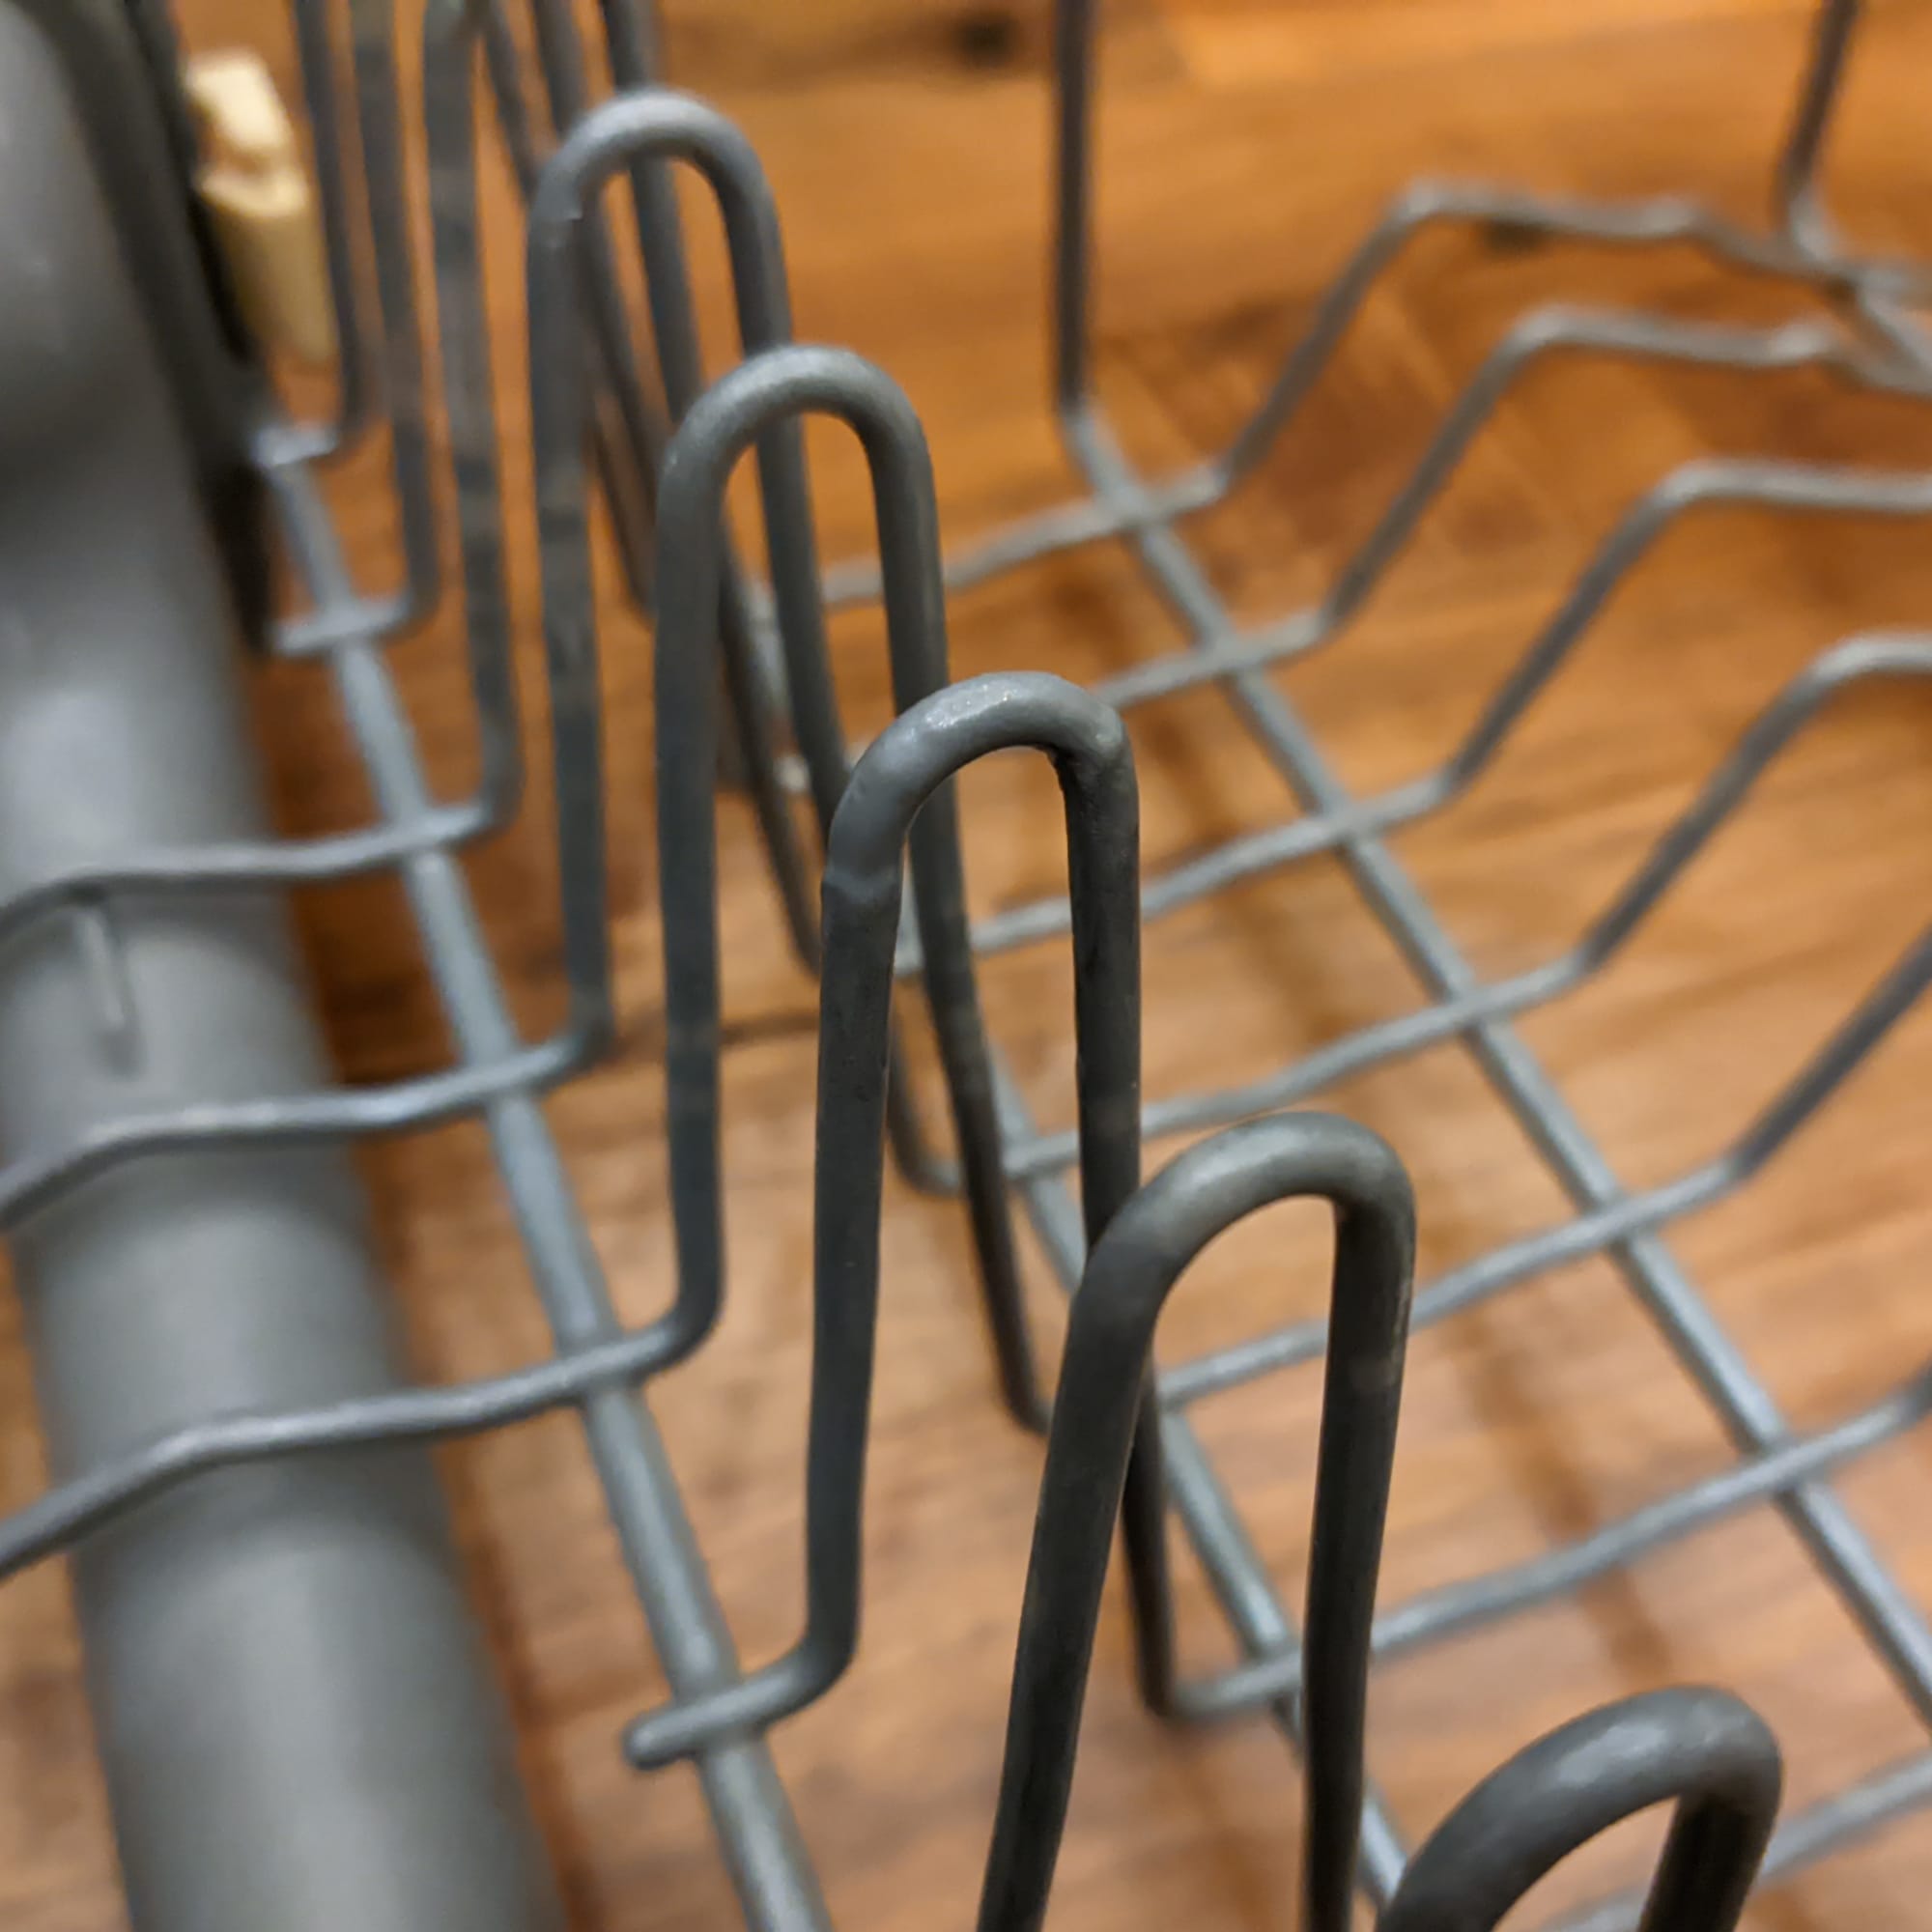
PVC coating, final layer
When looking into it without the macro shots, the damage is hardly noticeable anymore.
I am now as satisfied with the result as my willingness to abstain from using the dishwasher allows. Because from now on, the whole thing still has to harden for at least 24 more hours, followed by an empty wash cycle.


